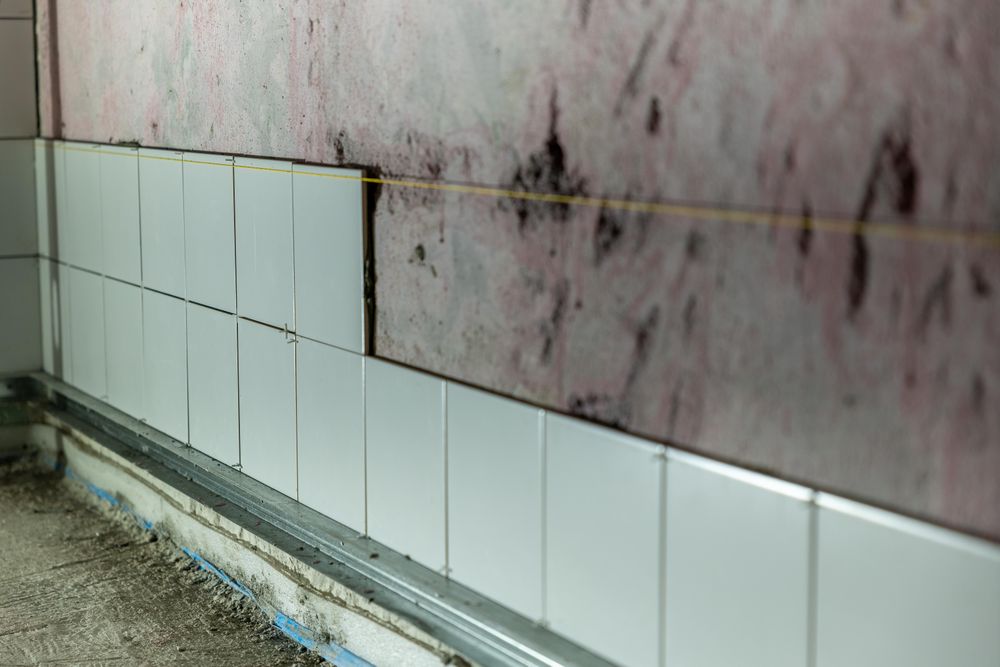
02 · RENOVATION TILING · MALVERN
Bathroom renovation tiling, strip-out to final silicone
The tiling scope inside a full bathroom renovation in Malvern — demolition, substrate, membrane, then tile, each stage finished before the next one starts.
SCOPE · BACK TO FRAME
A renovation is not a retile
Once old tiles, bedding and fixtures come out, the room is back to frame, sheet or slab — and whatever the last installation covered finally shows itself. Soft sheeting beside the shower, a screed that never fell to the waste, a hob built up from offcuts. The tiling scope starts there: strip-out and disposal, an honest read of the substrate, new sheeting or screed where it is needed, waterproofing laid in sequence, then wall and floor tiling with niches, hobs, shelves and trims set out before the first cut is made.
ORDER OF WORK
01 · STRIP-OUT
Remove and take away
Old tile, bedding and failed sheeting are removed and disposed of. The aim is a surface that can be assessed rather than one that gets covered over again.
02 · SUBSTRATE
Read what was hidden
Frame, sheet and slab are checked for movement, moisture and flatness, and falls to the waste are measured while they can still be corrected cheaply.
03 · SHEET + SCREED
Build the bed properly
New wet-area sheeting and fixings, then a screed formed to the waste. Corners and junctions are made ready for membrane instead of patched afterwards.
04 · MEMBRANE
Primer, bond breakers, coats
05 · TILE
Set out, then cut
06 · GROUT + SILICONE
Finish the junctions
Joints are grouted once adhesive has cured, then internal corners and floor-to-wall junctions are cut in with silicone rather than filled with grout.
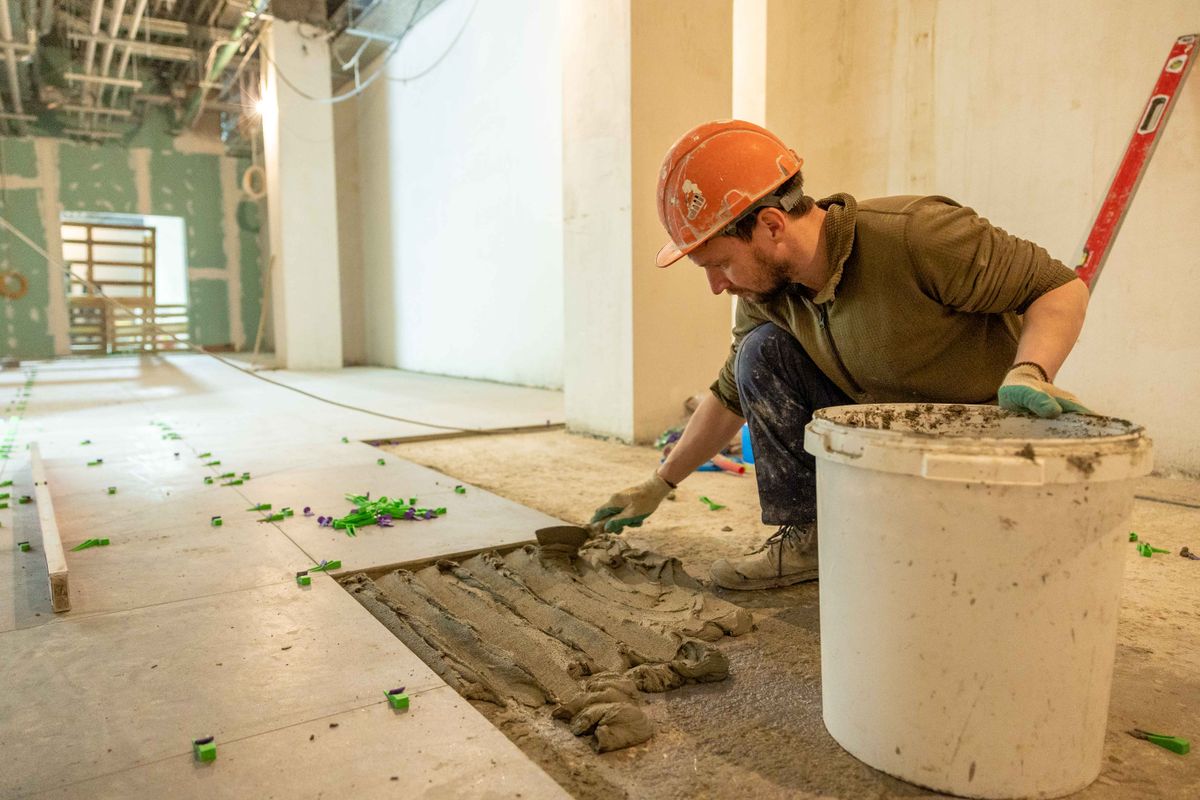
Reference photograph: floor tiles bedded into fresh adhesive in an unfinished room — the stage a renovation only reaches once substrate and membrane work is complete.
BETWEEN TRADES
Tiling locks in everyone else's decisions
Plumbing rough-in fixes the waste position and tap heights. The plasterer’s work sets the line where tile meets paint. The glazier measures a screen off finished tile, not off the frame. When tiling starts before those points are settled, the correction is usually demolition rather than adjustment — and that is where renovation budgets and timelines actually go.
On residential and small commercial work across Malvern, Malvern East, Armadale, Toorak and Glen Iris, we ask for three decisions before the membrane goes down, then build the set-out around them.
THREE DECISIONS · BEFORE THE MEMBRANE
01 · BEFORE DEMOLITION
Tile selection
Chosen before demolition, not after it. Size and thickness change screed depth, trim profiles and set-out, and waiting on stock stalls every stage behind it.
02 · AT PLUMBING ROUGH-IN
Waste position
Settled with the plumber at rough-in. A centred waste and a linear waste form falls differently and put floor cuts in different places.
03 · BEFORE THE HOB IS FORMED
Screen type
Frameless, semi-frameless or a hob detail. The screen decides the hob profile, the silicone lines and where wall tile stops against the glass.
QUESTIONS
Questions about renovation tiling
What order do the stages run in?
Strip-out, substrate repair, plumbing and electrical rough-in, sheeting and screed, waterproofing with its full cure time, wall and floor tiling, then grout and silicone. Fit-off follows tiling, never precedes it.
What usually delays a renovation?
Late tile selection, a waste that has to move after the screed is formed, and membrane cure time being squeezed to catch up. The first two are avoidable; the third should never be traded away.
Choose tiles before demolition?
NEXT