Home  ·  Tilework Reference

REFERENCE · WHAT TO LOOK FOR

Tilework read as details, not as finished rooms


A finished bathroom photographs well whether or not it was built properly. So this page is organised by detail instead of by room: the junctions, falls, set-out lines, joints, cut-outs and edges that decide how a tiled surface behaves five years after the last silicone bead is tooled.

Each entry says what to look at, why it matters, and which part of the work it belongs to — for homes and small commercial jobs in Malvern, Malvern East, Armadale, Toorak, Glen Iris and Prahran.
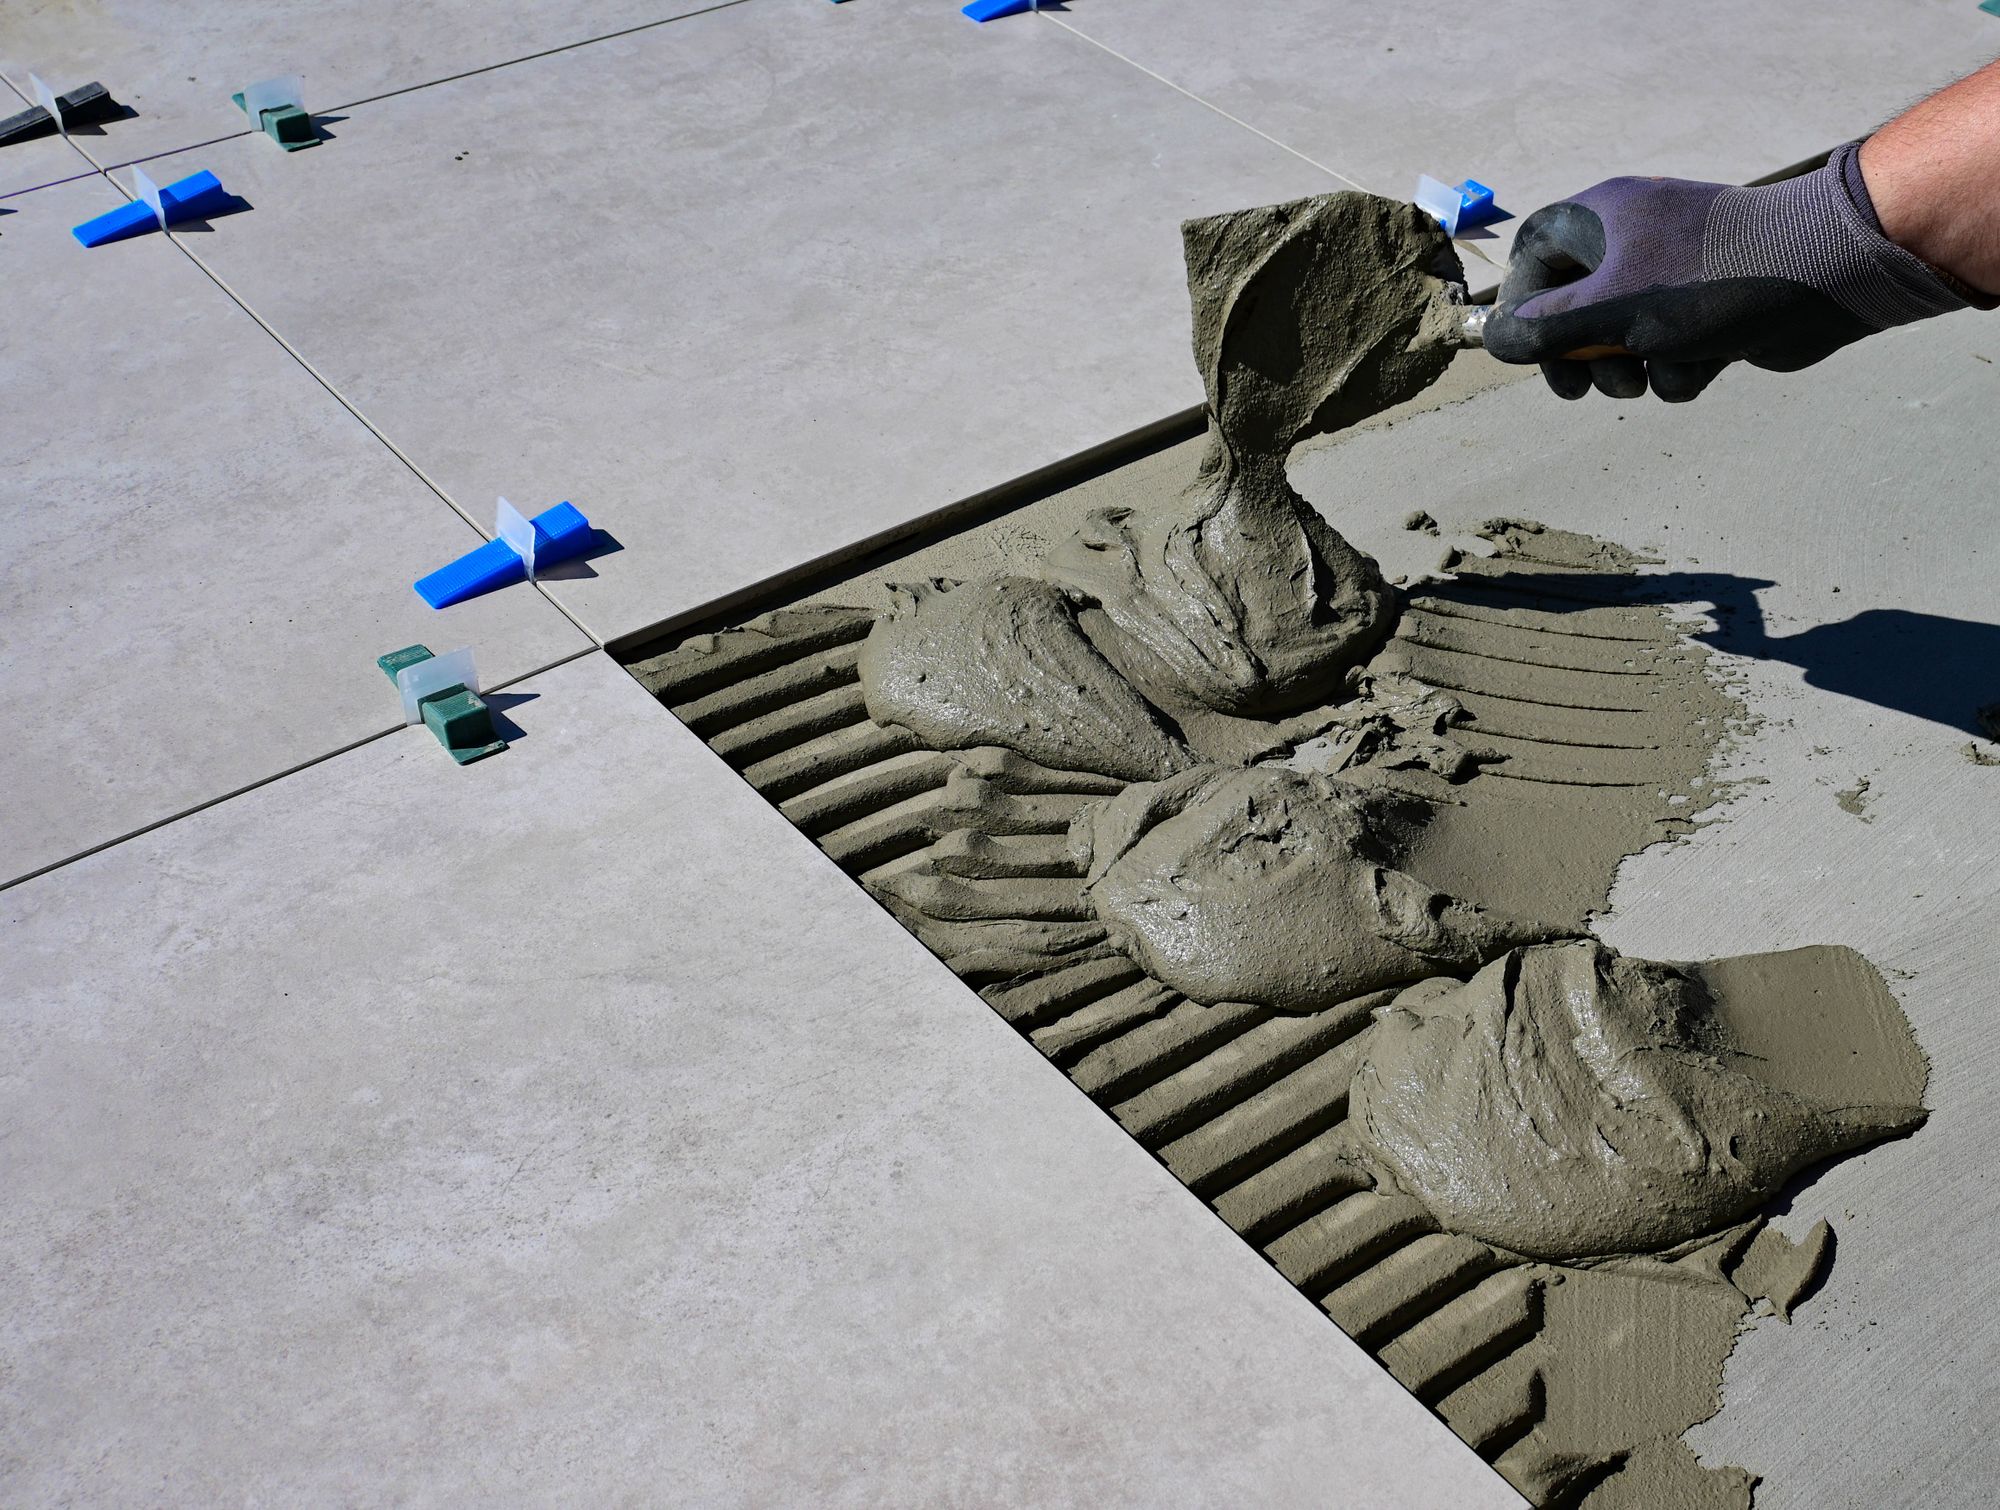
REFERENCE PHOTOGRAPH · 6 MM BED  Combed adhesive at full depth, ribs running one direction, tiles worked in before the bed skins over. The comb pattern is the difference between a solid tile and a drummy one.

BELOW THE TILE

The two details that decide whether a wet area stays dry. Both are finished and hidden before tiling starts, which is exactly why they are worth looking at while they are open.
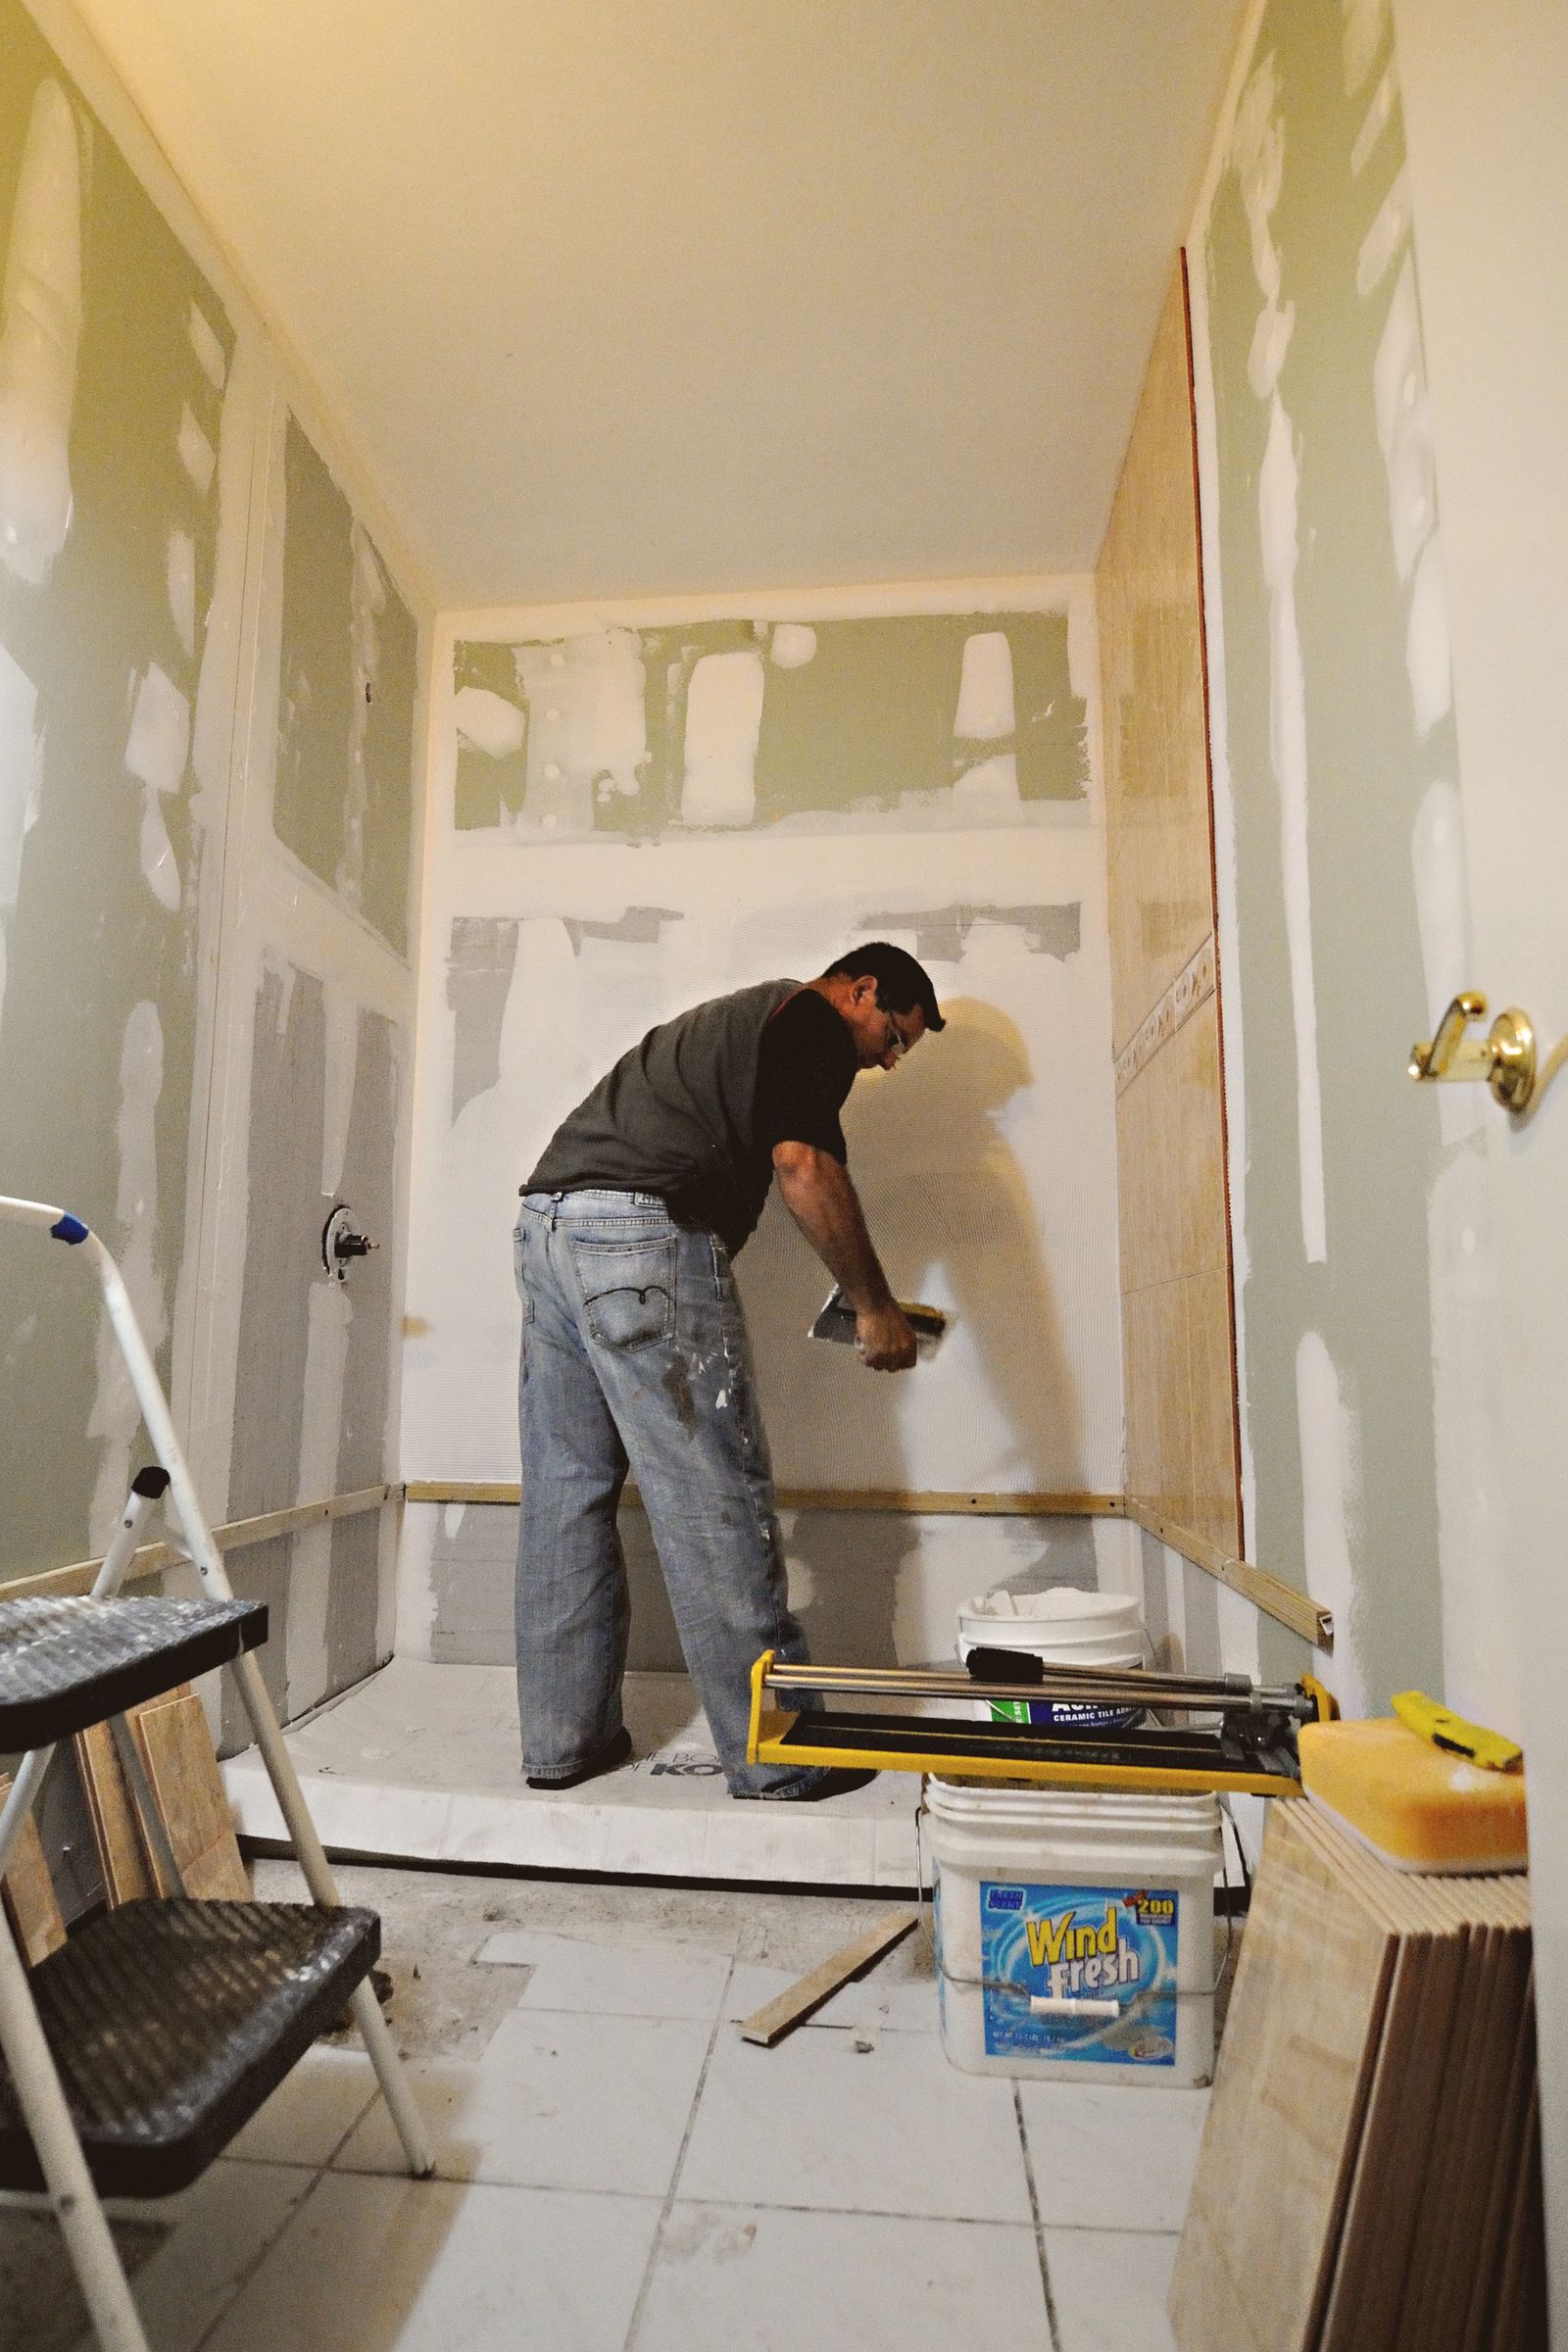
A worker uses a hand tool on a partially prepared bathroom wall during renovation, surrounded by unfinished surfaces, tile materials, a tile cutter and other tools.
01 · WALL, MID-WORK
A bathroom wall part-way through tiling. Behind tiles like these, the membrane has to run unbroken into every corner and junction.
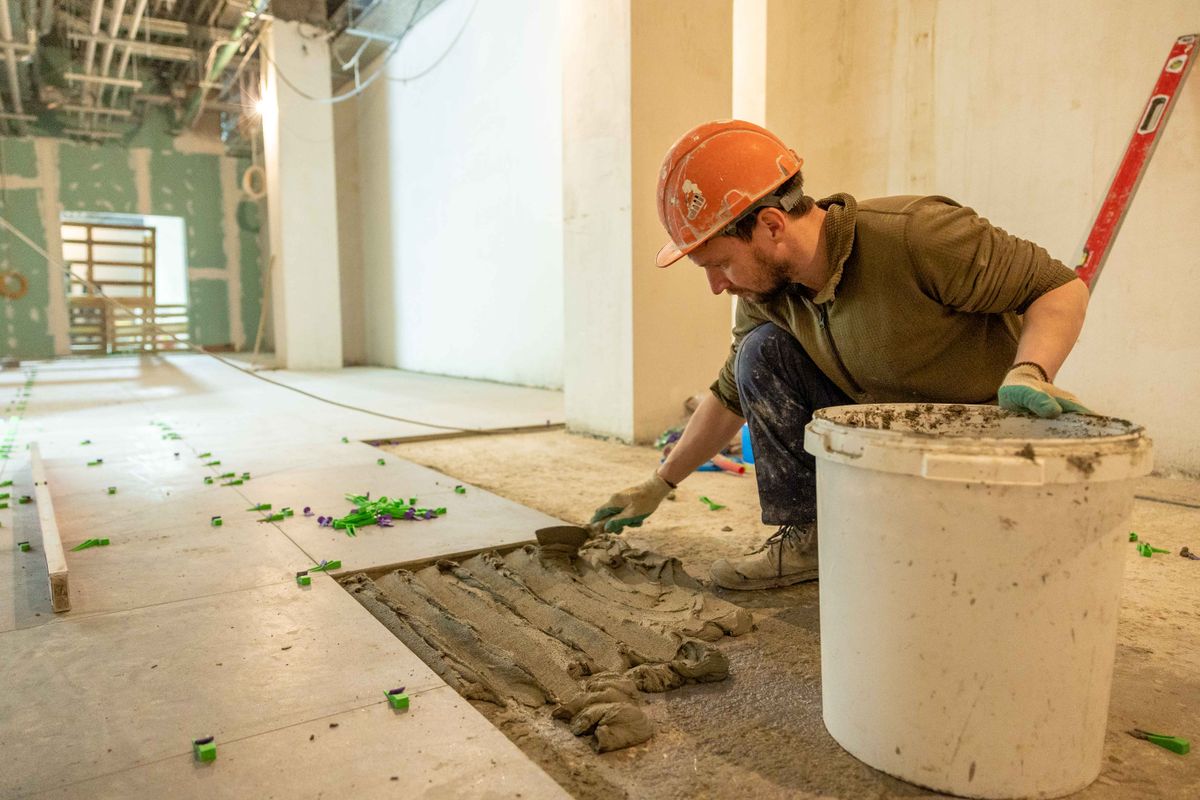
Tradesperson wearing a hard hat spreads mortar while laying large floor tiles in an unfinished interior, with spacers and a bucket nearby.
02 · FLOOR BED
Mortar spread across a bare floor as tiles go down. What sits under a floor is where its level, or its fall to a waste, is decided.

01 · 0 MM SURFACE → MEMBRANE

Wet-area junctions and the membrane band

On an open bathroom the membrane is the only saturated colour in the room: a continuous band turned up the walls, carried unbroken across the floor-wall junction and bonded into corners over a bond breaker so the joint can still move without tearing. What to look for is continuity — no stop short of a doorway, no thin patch at a hob, two coats with the first properly cured before the second goes on. This is the layer that gets covered forever the moment tiling begins. It belongs to Waterproofing.

02 · FALLS · SUBSTRATE

Floor waste, and the falls formed around it
A shower floor drains because the screed beneath it was shaped to drain, not because the tiles happen to slope. Falls are formed evenly from every edge into the waste, the flange is dressed into the membrane rather than sitting on top of it, and the tile cuts around the grate stay square so water runs rather than sits. The test is simple: after a shower, the floor should be damp, not puddled. Read it with Bathroom Tiling and Leaking Shower Repairs.
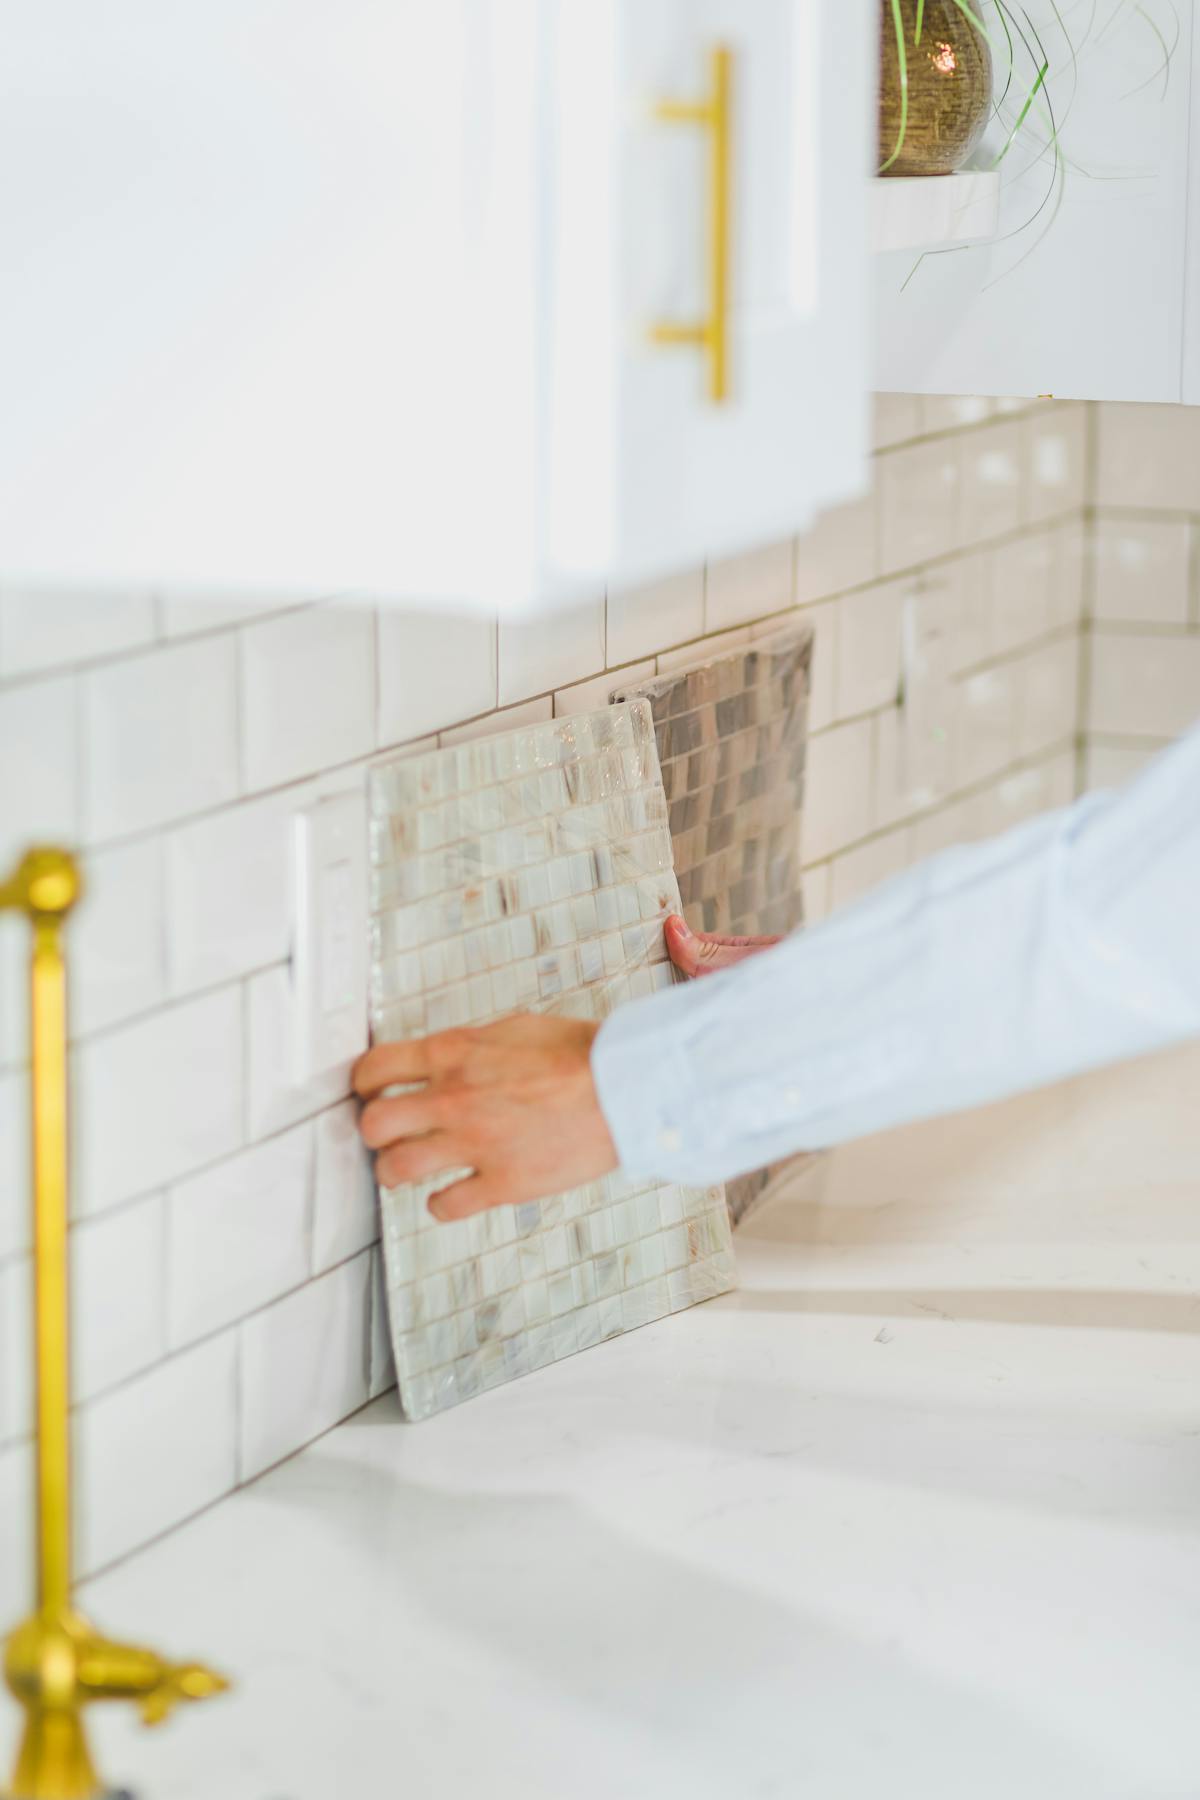
Person positions a sheet of small mosaic tiles against a tiled wall beside white cabinetry and gold hardware.

A sheet held up before it is fixed: the joint lines are being matched to the ones already on the wall, not to the edge of the sheet.

03 · SET-OUT · BEFORE ANY ADHESIVE

Where the cuts land is a decision, not an accident
Set-out is the hour spent measuring the room before a single tile is fixed. Centre lines are pulled off the most visible wall, not the longest one; slivers are pushed out of doorways and into corners; horizontal joints are made to meet a niche, a window reveal and the screen channel at the same height. Change nothing else about a job and a considered set-out will still make it look better.
Look for cuts of equal width at opposite ends of a wall, full tiles where the eye lands first, and grout lines that carry around a corner without stepping. More on the thinking behind it in Preparation Decides the Finish, and in practice on Floor Tiling.
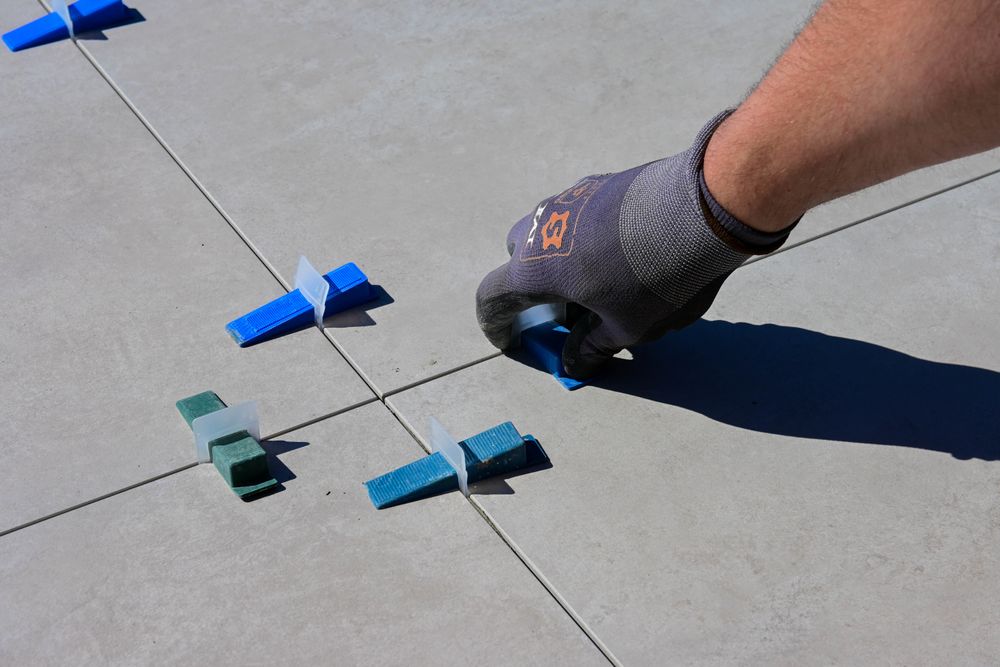
Gloved worker places a blue tile levelling clip between large-format floor tiles on a concrete surface.

A levelling clip set between two large-format floor tiles while the bed is still wet.

04 · 6 MM BED · LEVELLING

Large format joints and levelling
Fewer joints means every joint is studied. Look along a big panel floor at low light: lippage shows as a shadow on one edge. It is controlled before laying — flat substrate, full back-buttering, clip systems left in until the bed has set. See Large Format Tiling or the guide to large format tiles.
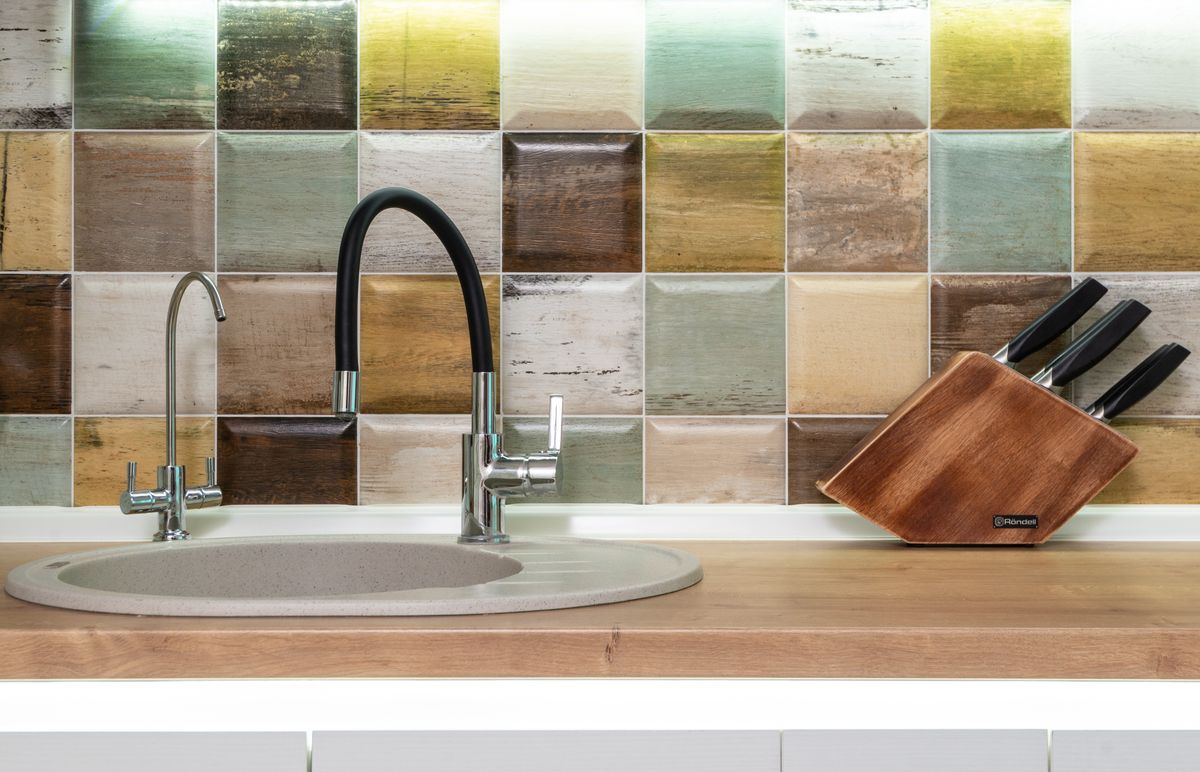
Finished kitchen backsplash of rustic-effect rectangular tiles in cream, green, brown and ochre tones, with a sink, taps and knife block.

A finished splashback of rustic-effect tiles behind a sink and taps. It is judged at arm’s length.

05 · CUT-OUTS · EDGES

Splashback cut-outs and trims
A splashback is judged at arm’s length. Power point cut-outs sit inside the plate with no daylight showing, the run finishes on a trim or a mitre rather than a raw edge, and the bottom joint against the benchtop is silicone, never grout. Detail by detail on Kitchen Splashbacks.
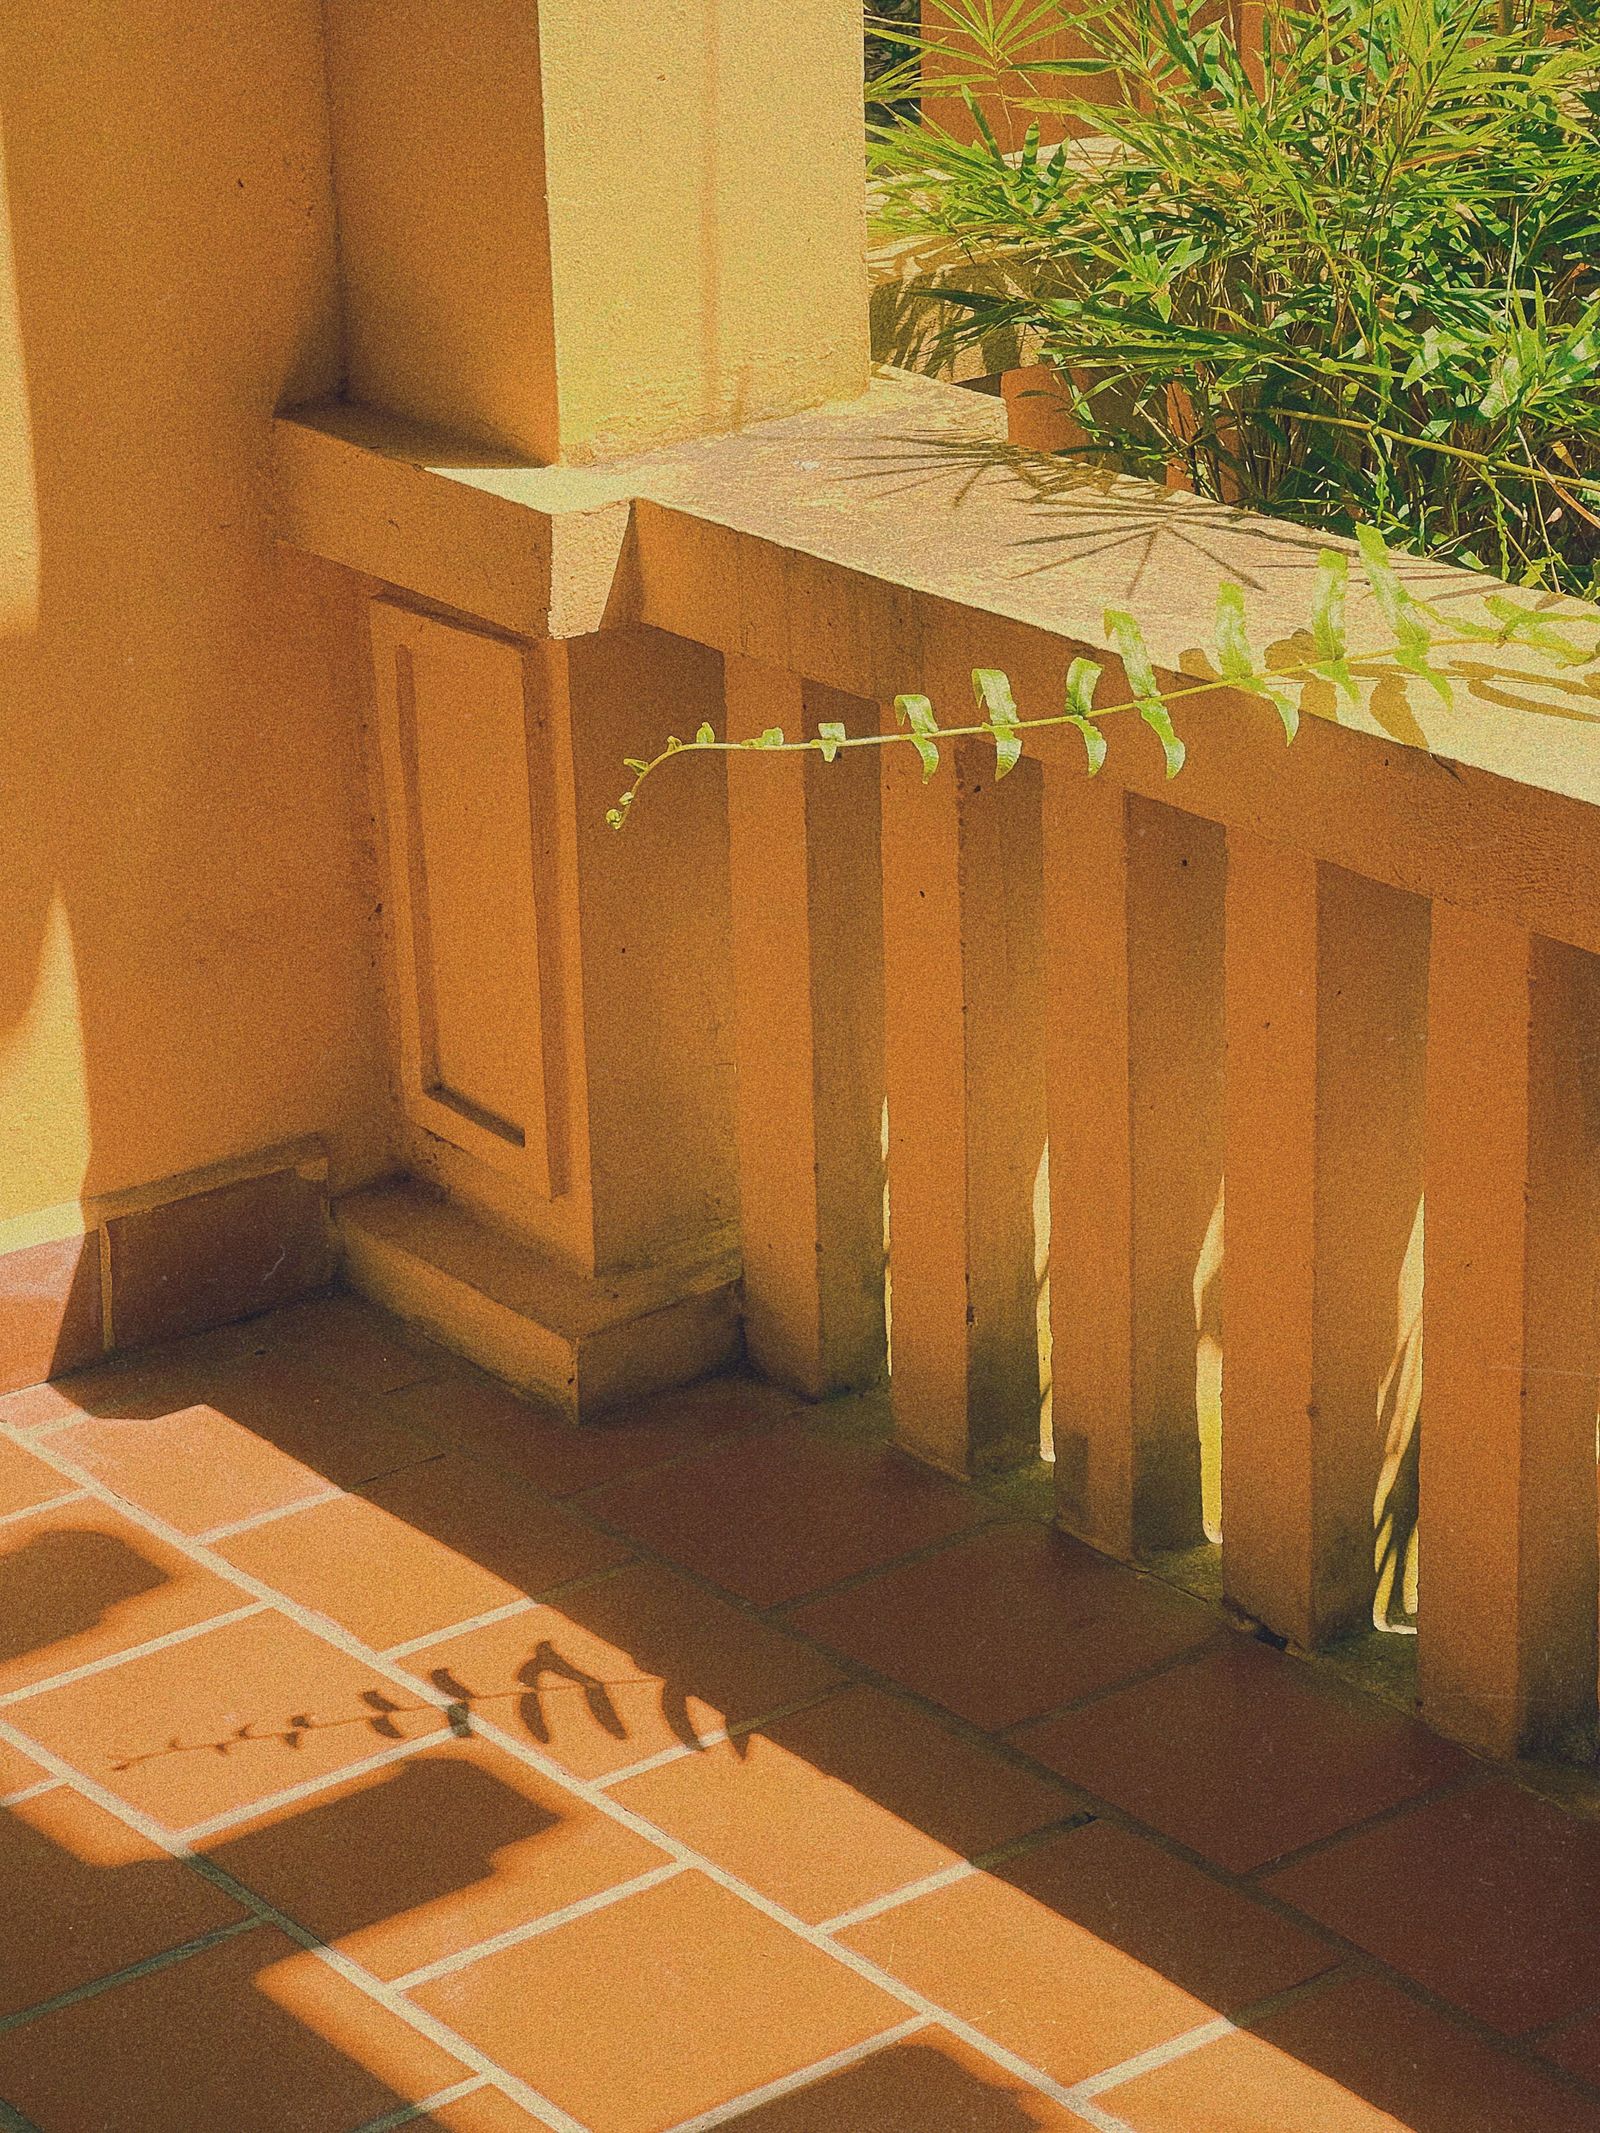
Sunlit outdoor balcony with terracotta floor tiles, a tiled ledge, wooden railing and surrounding greenery.

Terracotta tiles on a balcony, with a tiled ledge along a timber railing. Outside, the edge is where the detail is decided.

06 · EXTERNAL · EDGE

Balcony edges and drainage

Outside, the edge is the whole story: a fall that carries water away from the building, an external membrane turned up behind the door threshold, a perimeter joint left free to move, and a tile with a slip rating meant for wet feet. See Balcony Tiling, Outdoor Tiling and choosing outdoor tiles.

07 · GROUT + SILICONE · LAST DAY

The last day is where a good job is won or given away

Grout is packed full and struck off level, then sponged in stages so the haze is lifted rather than smeared into the surface. Every junction that can move — internal corner, floor to wall, tile to benchtop, tile to screen — is silicone, colour matched, cut in one pass and tooled once. Two joints in the same corner, one grout and one silicone, is the commonest reason a shower starts weeping a year later.
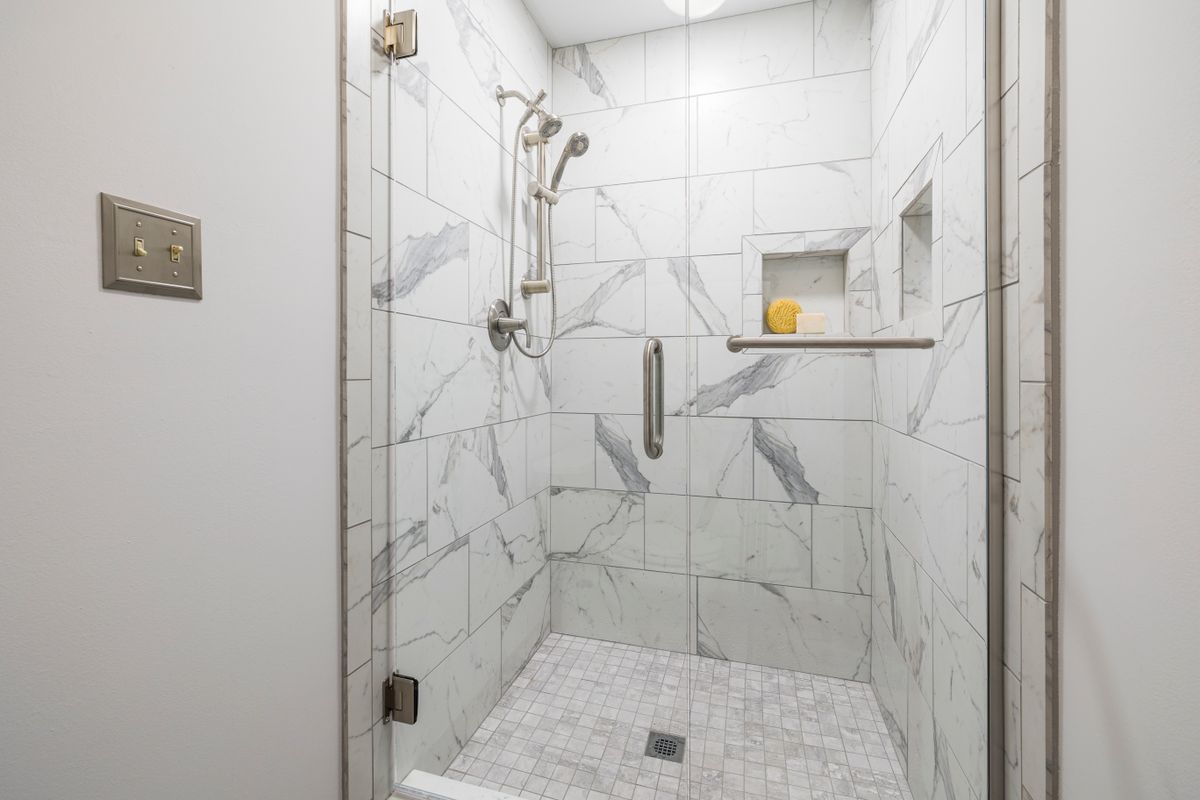
Completed walk-in shower with pale marble-look wall tiles, small mosaic floor tiles, built-in shelving, fixtures, grab bars, and a clear glass door.

A finished walk-in shower with marble-look wall tiles, a mosaic floor and a glass door. Wall-to-floor and tile-to-glass junctions like these take silicone, not grout.


WHAT TO CHECK ON A FINISHED SURFACE

Joints the same width top to bottom, and the same colour wet or dry
No hollow note when a tile is tapped — see Tile Repairs
Silicone, not grout, in every corner and at the floor
Grate sitting flush, water clearing within seconds
Trims mitred or capped, no raw glazed edges
Tired joints in sound tilework? That is Regrouting, not a retile — the regrouting guide explains where the line sits

BRING US THE DETAIL

Describe the part you are unsure about

A corner that keeps darkening, a floor that holds water, a joint you cannot get clean — described in a sentence or two, these are usually enough to say whether the fix is a surface one or a substrate one. Describe the problem in the Message field; if photos would help, we can arrange them once we’re in touch. Tell us about the job through Request a Quote, or ask a question first on the contact page.

Photographs of completed work in Malvern and the surrounding suburbs will be published on this page as jobs are documented.