GUIDE · MEMBRANE LAYER
Bathroom waterproofing: the layer you never see
Once the tiles go down, the membrane under them is hidden for good. You’ll never see it again, but it decides whether water stays in the shower or gets into the floor, the wall frame and the room next door.
For homeowners planning a bathroom in Malvern and nearby suburbs: what happens, in what order, and what to look out for.
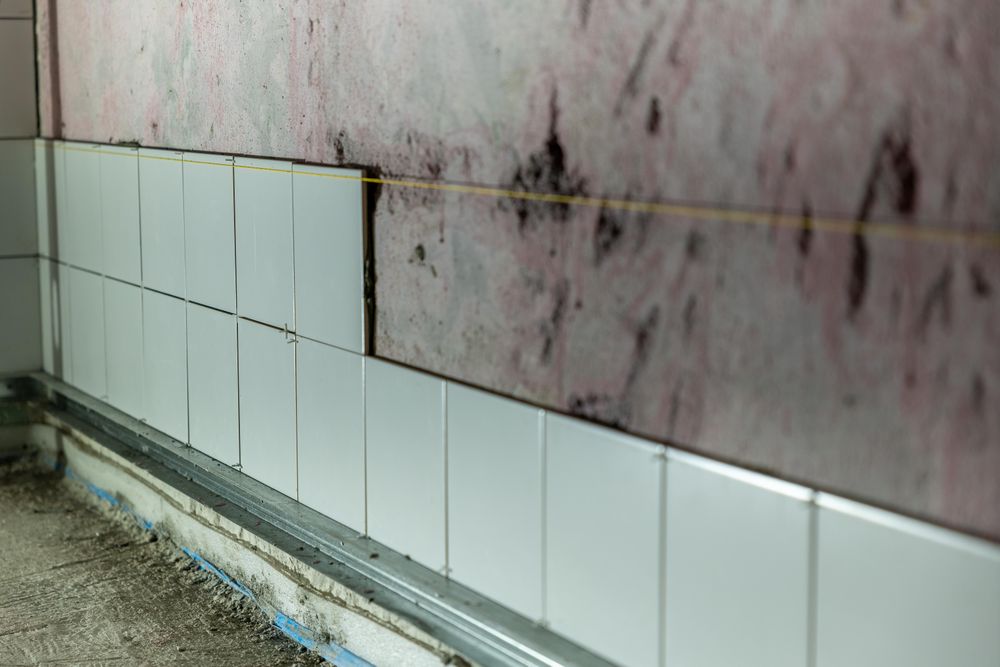
REFERENCE PHOTOGRAPH · WALL TILING UNDER WAY, BARE SUBSTRATE ABOVE THE LAID COURSES
SUBSTRATE → MEMBRANE
What a wet-area membrane is for
Tiles and grout aren’t waterproof. Grout is porous, so a well-tiled floor still lets some moisture through its joints every time the shower runs. The membrane is a continuous, flexible layer underneath that catches this water and carries it to the floor waste.
To work, it must have no gaps: no breaks at corners, no thin patches and no open edges around pipes. It also has to stay intact as the building moves slightly with temperature and weight. Every stage below is there to protect those two things.
SEQUENCE · SIX STAGES
The order of work, from the surface up
Read from top to bottom, in the order the work happens on site.
01 · SUBSTRATE
Preparing the surface
02 · PRIMER
Priming
Primer seals porous surfaces and gives the membrane something to grip. Without it, concrete or wall sheeting can soak moisture out of the first coat, leaving it weak or full of pinholes.
03 · JUNCTIONS
Bond breakers at the corners
Where the floor meets a wall, or two walls meet, each surface moves slightly differently. A bond breaker (a strip or sealant bead that stops the membrane sticking right in the corner) lets it stretch across the join instead of being glued tight and tearing.
04 · WASTE + PENETRATIONS
Sealing around the waste and pipes
The floor waste, tap bodies and shower outlets are where leaks most often start. Each one is sealed with a purpose-made collar or reinforcing, so the membrane runs down into the drain instead of stopping short of it.
05 · TWO COATS
Building up the thickness
The membrane goes on in two coats to reach the thickness the manufacturer specifies. The second coat covers the pinholes and thin spots the first coat almost always leaves.
06 · CURE
Letting it cure before tiling
0 mm · SURFACE
Signs the job was rushed
Some are visible during the work. Others only show up after the bathroom is in use.
01 · MEMBRANE EXPOSED
While the membrane is still exposed
The surface underneath showing through, only one thin coat, bare or crusty edges around the waste, and corners painted straight over with nothing flexible in the join.
02 · TILING BEGINS
When tiling starts
Tiling starting the morning after the second coat, footprints or tool marks pressed into a soft surface, or adhesive spread over a membrane that still feels sticky.
03 · IN USE
Months or years later
SCHEDULE · DRYING TIME
Why tiling has to wait for the membrane
Drying time is set by the product and the room, not by the renovation timeline. A cold Melbourne winter, a bathroom with no ventilation or a humid day can each slow the cure. If tiles are laid over a membrane that hasn’t cured, moisture can get trapped and the membrane can be damaged, and nobody will know until it leaks.
A good schedule includes this waiting time from the start, so nobody is tempted to skip it when the plumber, the screen installer and the tiler are all booked in the same week. Before work starts, it’s reasonable to ask:
Which membrane product is being used, and what drying time does the manufacturer give?
How will the corners and the floor waste be sealed?
When will the second coat go on, and when will tiling start?
Can I see the membrane before it’s covered?
RELATED · READ ON
Where the membrane leads
Bathroom Tiling — the wall and floor tiling that goes on top of the membrane.
Leaking Shower Repairs — finding and fixing the cause when a shower is already leaking.
Preparation Decides the Finish — checking, levelling and priming the surface before anything else goes on.