0 MM · OLD TILES OFF, NEW RUN ON
Replacing the old splashback when the kitchen is updated
When a kitchen is updated, the old splashback rarely suits the new benchtop, rangehood or cabinets. Tiling Malvern replaces existing splashbacks in homes and small commercial kitchens across Malvern and nearby suburbs. The old tiles come off, the wall behind is checked and repaired, and the new run is set out to the new fixed lines before a tile is cut.
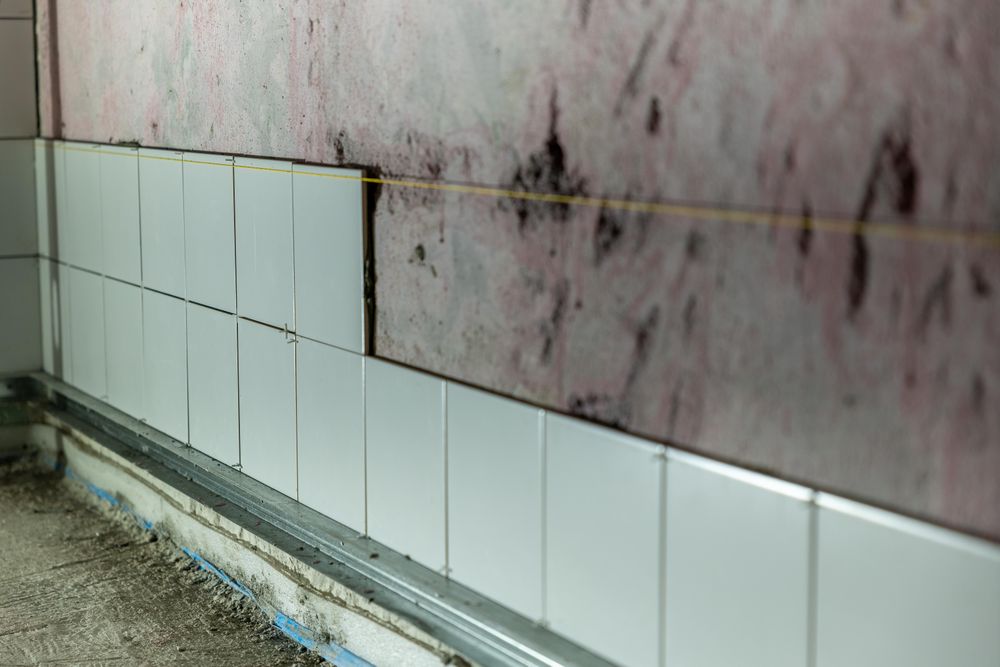
REFERENCE PHOTOGRAPH · TILE MEETING BARE WALL: THE SURFACE A REPLACEMENT HAS TO MAKE SOUND FIRST
WHO DOES WHAT · BY SEQUENCE
New benchtop, overhead cabinets and rangehood fitted, so the new run has a true bottom and top line.
TILER
Old tiles and adhesive removed, wall repaired, then set-out, cut-outs, trims, tiling, grout and silicone.
ELECTRICIAN
Faceplates loosened and refitted, and any power point moves done before the new tiles go on.
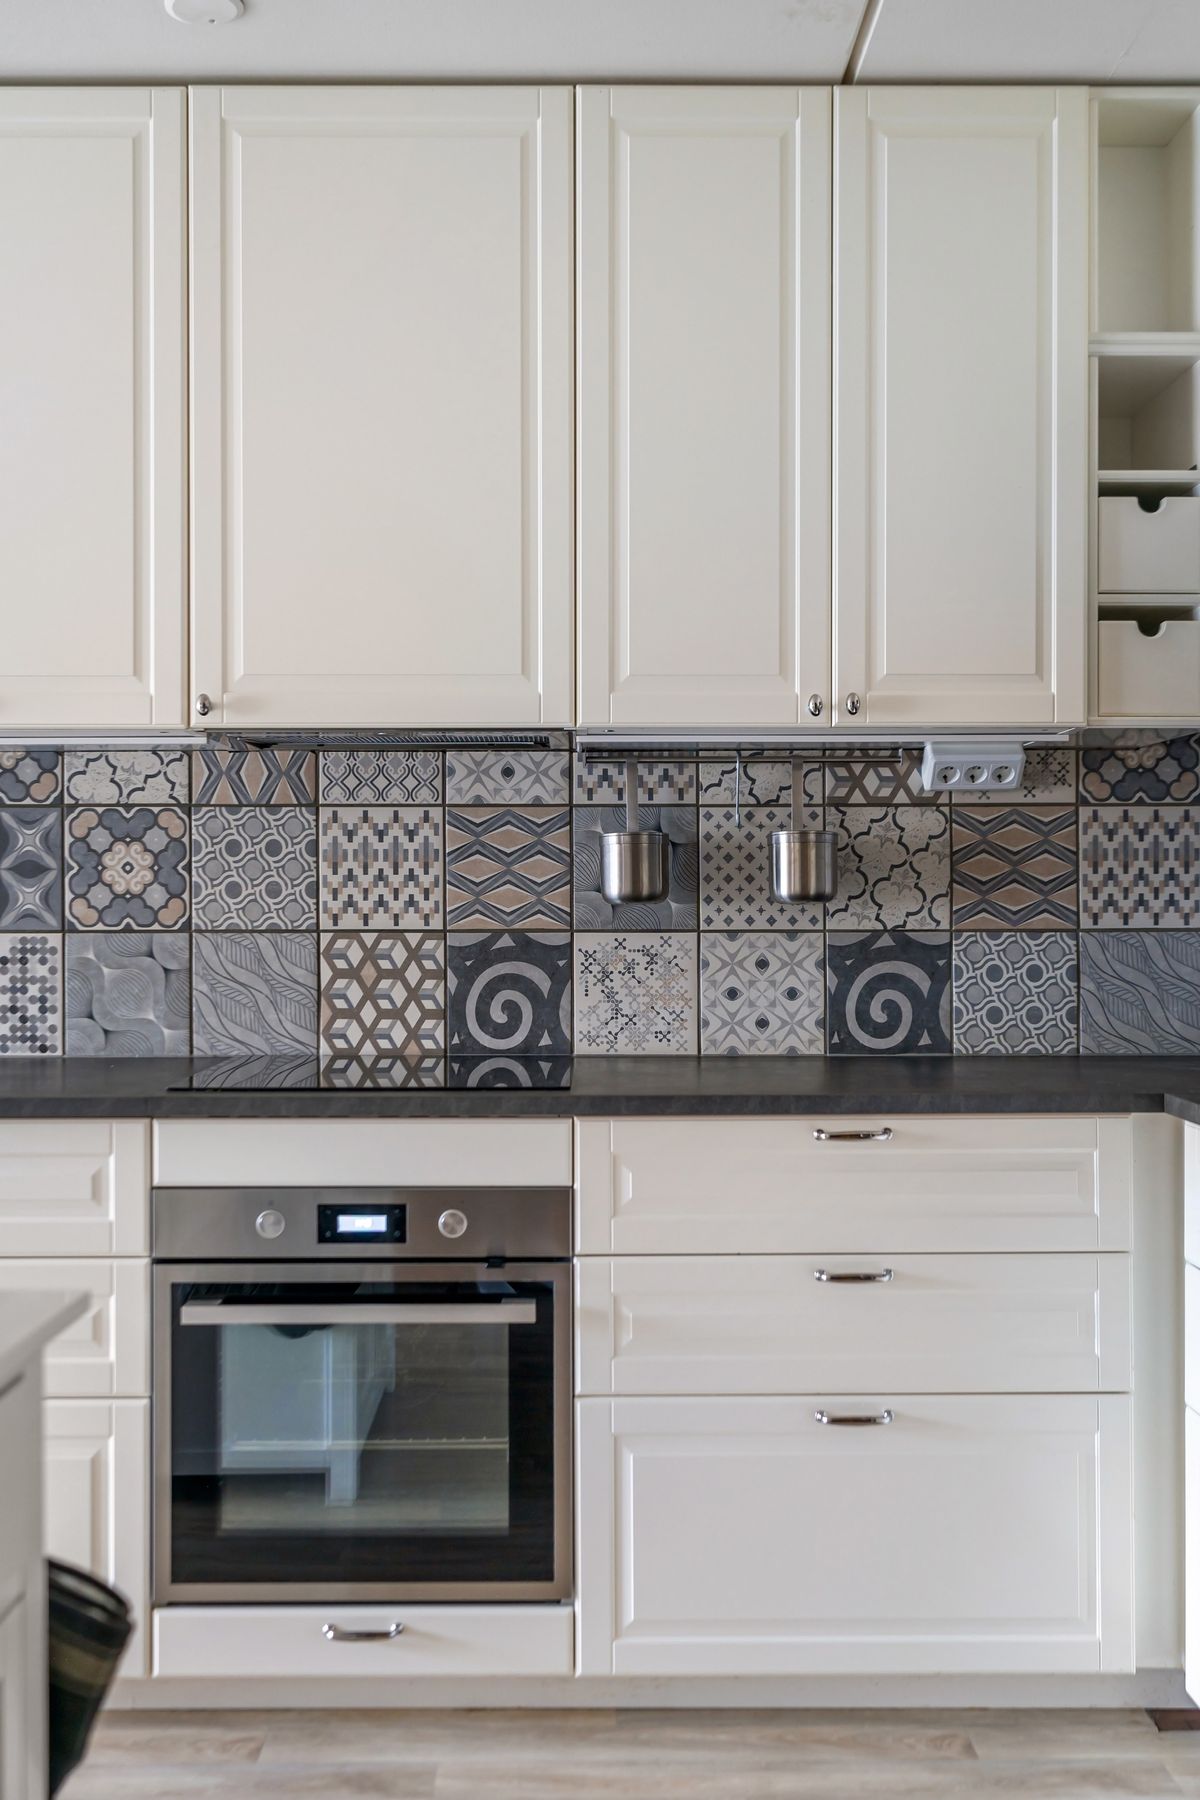
REFERENCE PHOTOGRAPH · NOTICE WHERE THE PATTERN STARTS ABOVE THE WORKTOP AND HOW EACH END OF THE RUN MEETS THE CABINETS
0 MM · BEFORE STRIP-OFF
Four calls to make before the old splashback comes off
Each one is settled at quote stage, because it changes how much wall repair is needed and which tiles and trims get ordered.
REMOVE OR OVERLAY
Strip it back, or tile over it
NEW LINES
Set out to the new benchtop, not the old tiles
A kitchen update often changes the benchtop, rangehood or cabinets, so the old splashback’s joints are no guide. We set out again from the new fixed lines, usually the rangehood or the centre of the sink, so the ends match and joints stay clear of faceplates.
ENDS + EDGES
Where the new run meets what stays
Old splashbacks often stopped against cabinets that have since changed. The new run may need a trim, a finished tile edge or a return, and any wall left bare where the new run is shorter has to be made good.
GROUT + SILICONE
Clean joints at the benchtop and taps
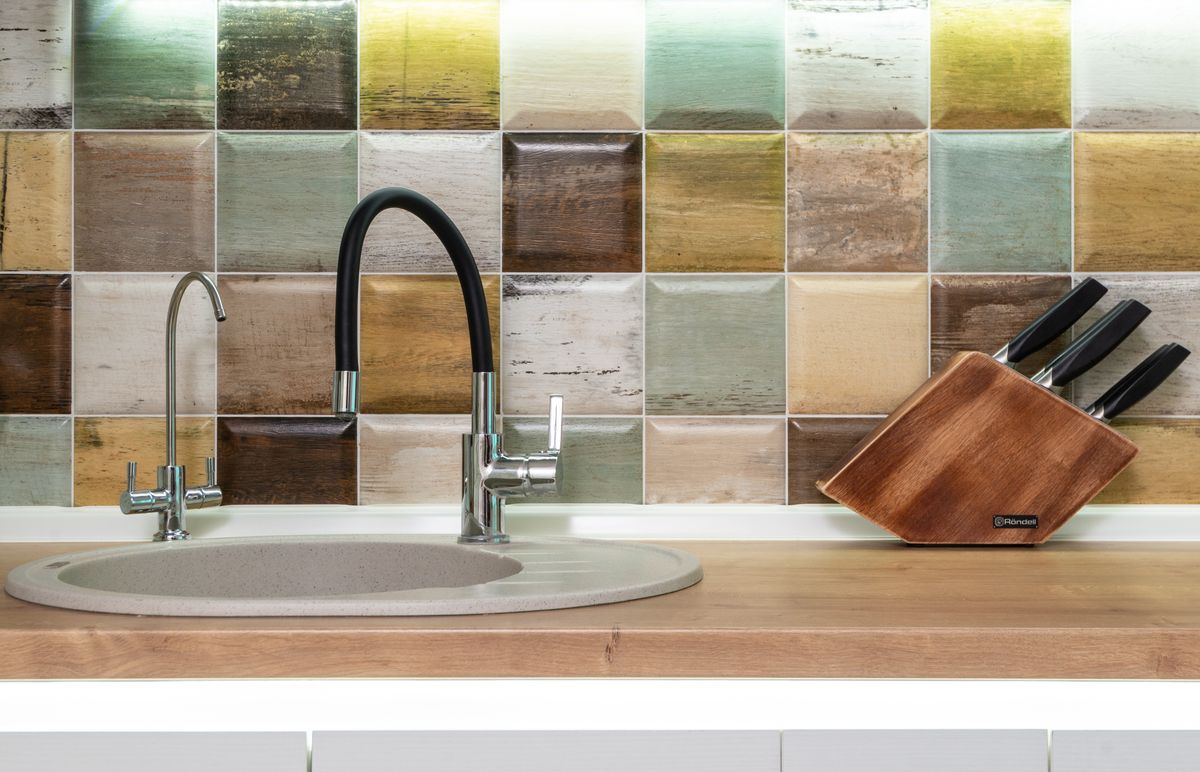
REFERENCE PHOTOGRAPH · LOOK AT WHERE THE TILES MEET THE BENCHTOP AND HOW THEY FINISH AROUND THE TAPS. THOSE JUNCTIONS SHOW THE CARE IN A SPLASHBACK
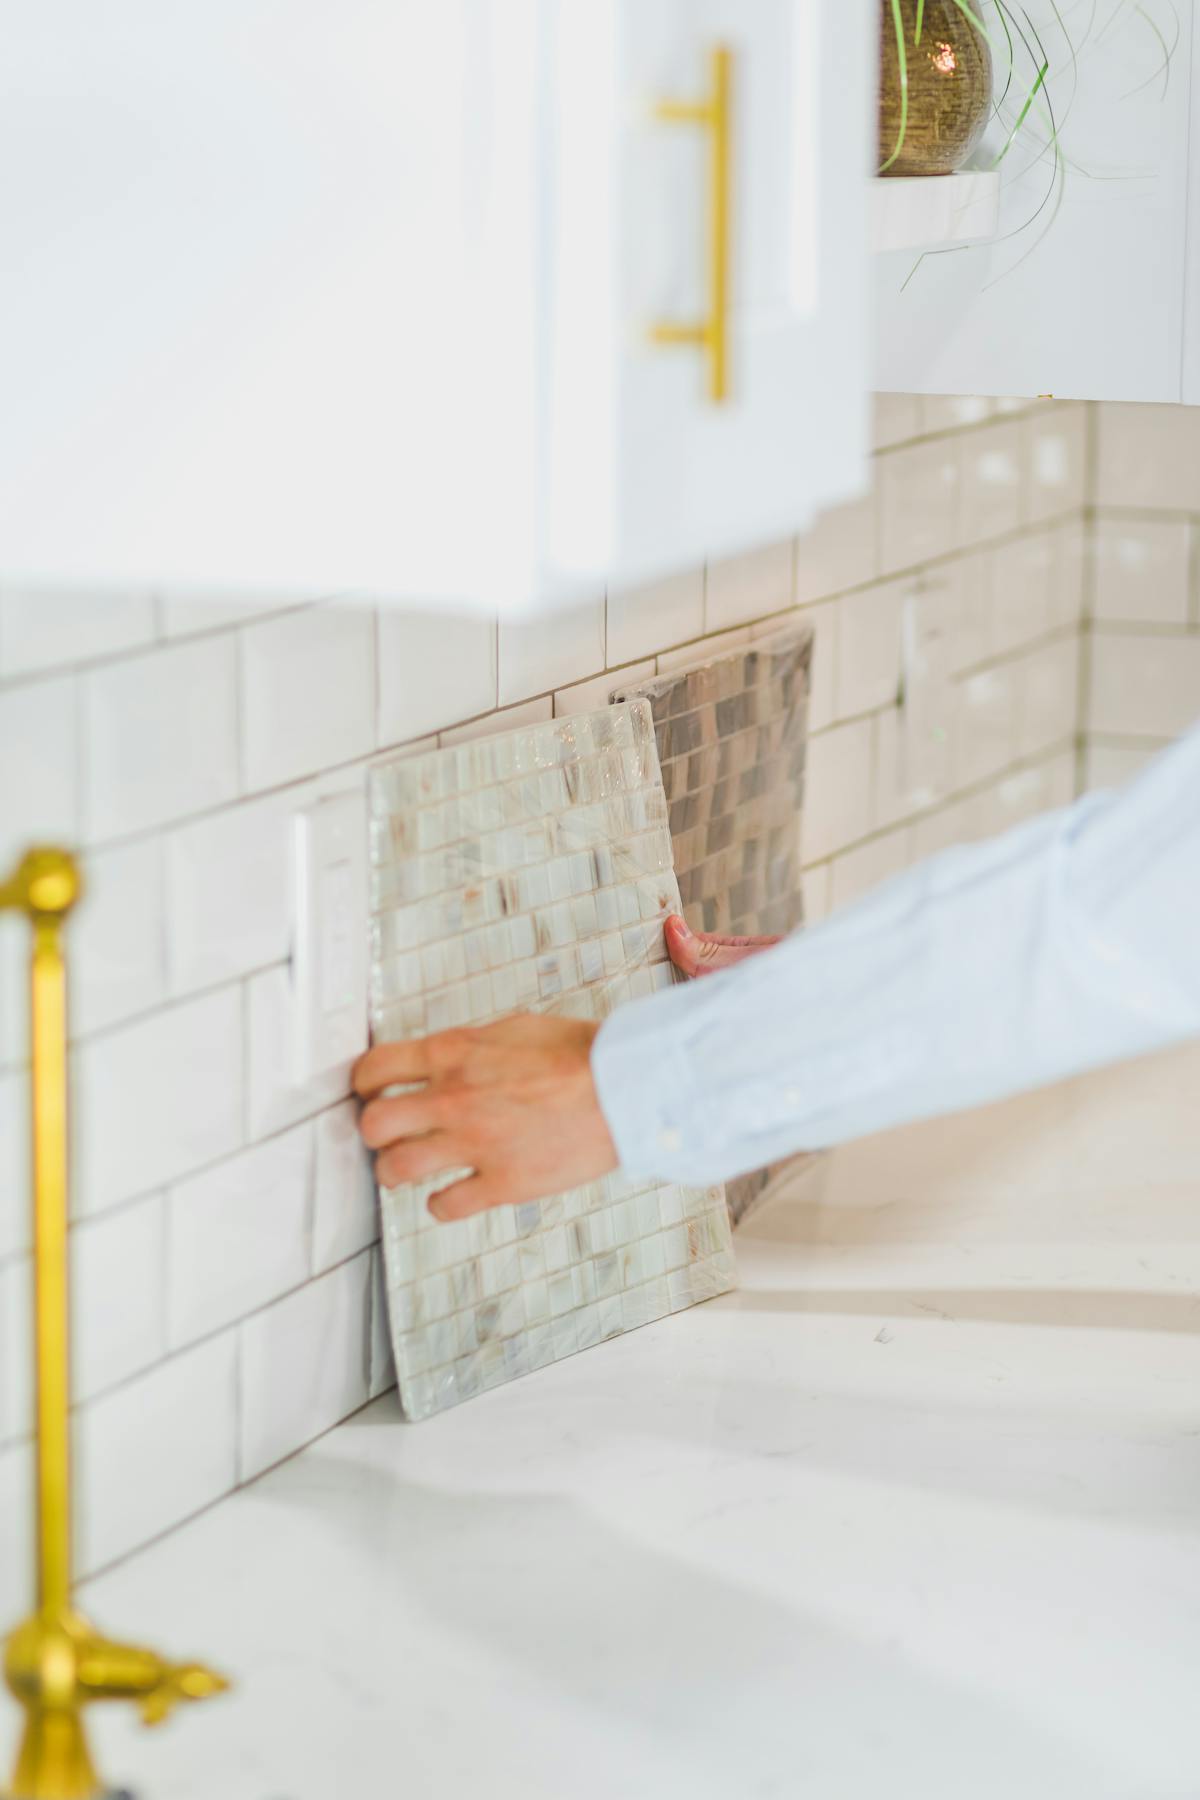
REFERENCE PHOTOGRAPH · A MOSAIC SHEET BEING SET AGAINST THE WALL
SUBSTRATE → SURFACE
Replacing a splashback, from strip-off to silicone
Old tiles and adhesive are removed with the benchtop and cabinets covered. How the old tiles let go says a lot about the wall behind them.
02 · REPAIR THE WALL
Torn plasterboard face, hollow render and adhesive ridges are patched or ground back, then primed so the new adhesive has something to grip.
03 · CONFIRM THE NEW FIXED LINES
The new benchtop, cabinets and rangehood should already be in. The old tile line is ignored; the set-out comes from what is there now.
04 · SET OUT, CUT AND FIX
We mark the pattern from the centre line, measure cut-outs on the wall itself, and bed each tile fully, flush with the tiles beside it.
05 · GROUT, THEN SILICONE
Once the adhesive has set, we grout the joints and wipe off the haze. Silicone goes into the benchtop join and the inside corners last.
TILE · IN USE
Why tile the wall behind the bench
It wipes clean
Glazed tile resists oil, steam and water, and a quick wipe does most of the work. Well-chosen grout keeps the joints from soaking up stains.
It copes with steam
It can be fixed a piece at a time
QUESTIONS · BEFORE THE OLD TILES COME OFF
Questions about replacing a splashback
Can the benchtop stay while the old splashback comes off?
Usually. The benchtop is covered and the bottom row is worked off carefully. Tiles bedded hard against the benchtop edge take more care, so that edge is looked at before removal starts.
Should the new splashback wait for a new benchtop?
Yes. A new benchtop is rarely the same thickness or depth as the old one, so the bottom line of the tiles moves. The splashback goes on after the benchtop is fitted and meets it with a silicone joint.
What is the wall like once the old tiles are off?
It depends on how the old tiles were fixed. Plasterboard can lose its face, render can sound hollow and old adhesive leaves ridges. All of it is repaired and flattened before new tiles go on, so the wall behind is part of the quote.
Can the power points stay where they are?
They can. An electrician loosens and refits the faceplates so they sit neatly over the new tiles. If the kitchen update moves a power point, that happens before tiling, so the set-out is marked around its final position.
NEXT LAYER
Planning a splashback nearby?
RELATED SERVICES
For a first splashback on a wall that has never been tiled. This page covers replacing one that is already there.
Floor Tiling
Large Format Tiling
Tile Repairs
Regrouting
All tiling services