BATHROOM TILING · MALVERN
Bathroom tiling in Malvern, laid in sequence
Set-out planned before the first cut. Membrane cured before a bed of adhesive touches it. Silicone, not grout, at every junction that moves.
Wall and floor tiling for bathrooms in Malvern, Malvern East, Armadale, Toorak and the streets around them.

Reference photo · a finished shower with marble-effect walls and hexagonal floor tiles — the surface every stage below has to hold up.
0 mm · SURFACE
Reading the room before anything is cut
A bathroom is a small room with a great many edges: a screen channel, a niche, the vanity line, a floor waste that has to sit at the low point of every fall. Set-out is where all of that gets resolved. We measure the room first, work out where the full tiles land, and push the cuts into corners, behind the screen and under the vanity, where nobody reads them.
Walls and floors are treated as one piece of work. Falls are formed so water leaves the floor on its own rather than because it has been pushed. Joints are held to a consistent width across both planes so the horizontal lines carry around the room. Silicone replaces grout at every internal corner and change of plane, because a rigid joint in a moving junction will crack sooner or later.
FALLS
A floor that drains itself
Falls are set into the bed and checked as the tiles go down, so water arrives at the waste instead of standing in the low corner of a shower base.
SET-OUT
Cuts where they belong
Slivers at the door and half-tiles at eye level are set-out decisions, not bad luck. The grid is planned around niches, screen lines and the vanity before cutting starts.
JOINTS
Finishes that age quietly
SUBSTRATE → SURFACE
The order of work
Every stage below is finished, checked and — where it needs to be — cured before the next one starts. Skipping ahead is the single most common reason a bathroom fails early.
SUBSTRATE
01 · Strip-back check
Sheeting, framing and waste height are assessed before anything is ordered. Soft or moving substrate is dealt with now, not tiled over.
02 · Repair and level
Sheets refixed, screed corrected, falls roughed in. Flatness achieved here costs far less than adhesive used to bury a hollow later.
PRIMER + MEMBRANE
03 · Primer
Surfaces are cleaned and primed to suit the substrate, so the membrane bonds to the floor rather than to dust.
04 · Membrane, then cure
6 mm · BED
05 · Adhesive bed
Adhesive matched to tile and substrate, combed in one direction and back-buttered where the format calls for full coverage.
06 · Tile
Walls and floor laid to the agreed set-out, levelling clips where needed, cuts finished cleanly at trims, niches and the screen line.
0 mm · SURFACE
07 · Grout
Joints packed full, not skimmed, then washed down and the haze taken off before it sets into the face of the tile.
08 · Silicone
Internal corners, floor-to-wall junctions and around the screen are siliconed and tooled — the joints that have to move, and stay renewable.
QUESTIONS WE ANSWER ON SITE
Sequencing, drying and tile size
Does the waterproofing have to dry before tiling starts?
Yes. Each coat is applied and cured according to the membrane system being used, and the floor stays off limits until that is complete. Tiling into a soft membrane compromises both the bond and the barrier.
How long will the bathroom be out of use?
It depends on the size of the room, the condition of the substrate and how many other trades are involved. We set out the stages and the waiting points for your specific job when we quote it, so you can plan around them.
Are large tiles a mistake in a small bathroom?
What does a tiler need from the other trades first?
Rough-in complete, waste set at the right height, noggings in for anything fixed to the wall, sheeting finished and the room clear. Late changes to fixture positions are what push a set-out out of shape.
Can you tile over the existing tiles?
BEFORE THE TILES
Membranes laid and cured before a tile is set.
Bathroom Renovation Tiling
Strip-out through to the final silicone bead.
IF SOMETHING HAS FAILED
Find the cause before deciding on the fix.
Regrouting
Tired joints restored without a full retile.
FURTHER READING
How area, format and substrate move a price.
Bathroom Waterproofing: The Layer You Never See
Why sequence and cure time matter most.
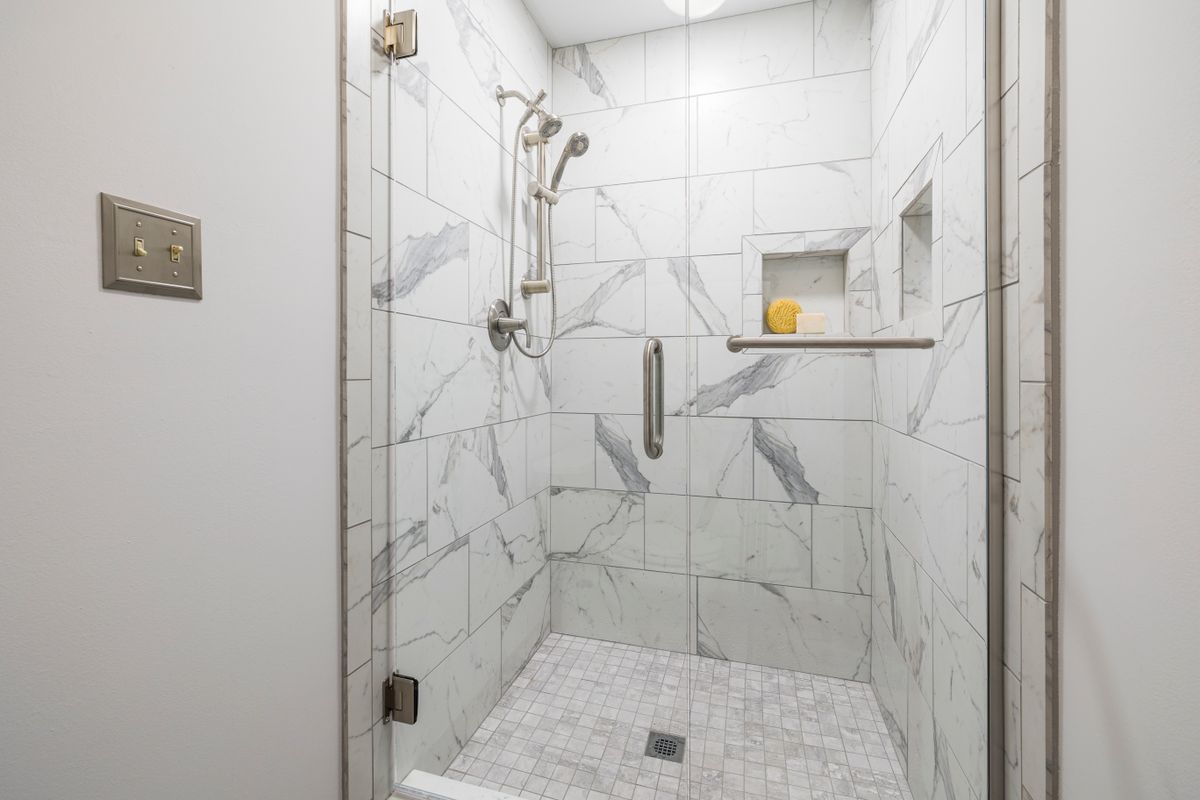
Reference photo · a finished wet area, where every layer described above has stopped being visible.
NEXT STEP