GUIDE · WET AREAS
Read from the tile down to the membrane.
LEAKING SHOWERS · 0 MM · SURFACE
Leaking showers: the early signs, and what they usually mean
A shower rarely announces a leak at the tile. The evidence turns up next door, in the room below, or in a smell that never quite clears. Catching those signs early usually means a smaller repair and less damage to the structure behind the wall.
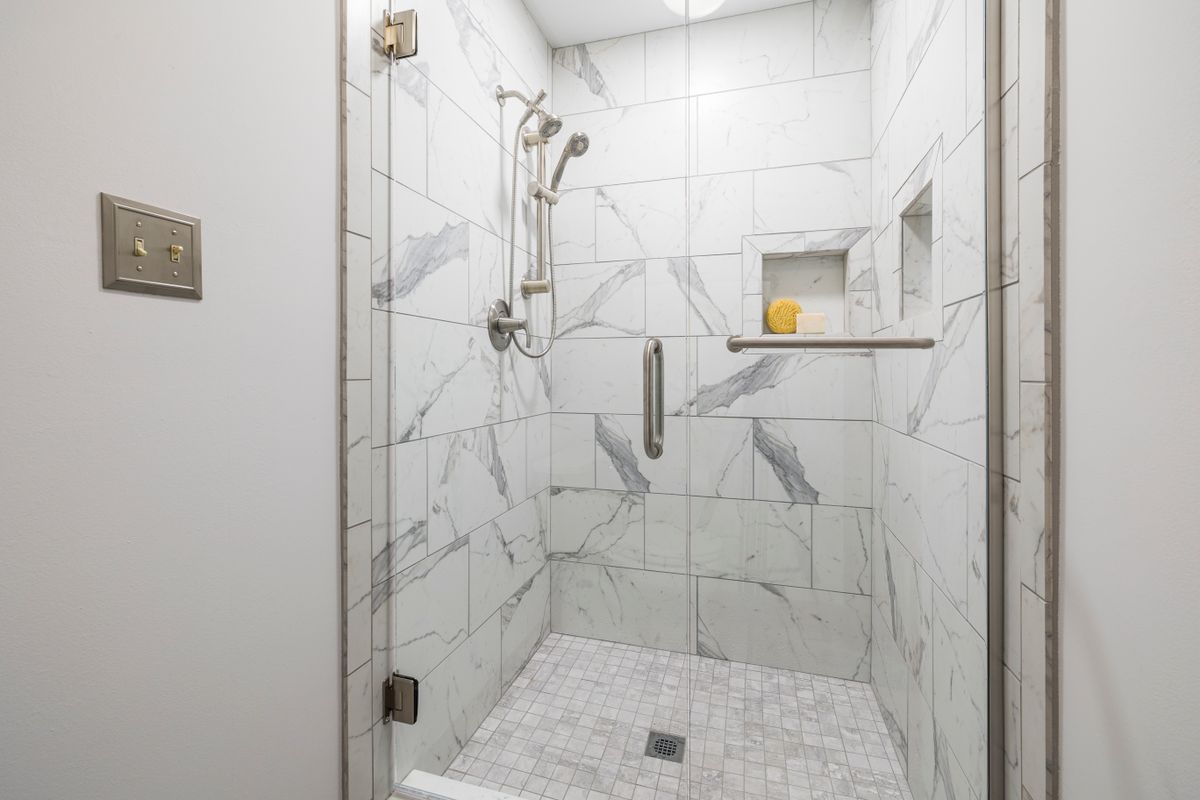
REFERENCE PHOTOGRAPH · A FINISHED SHOWER GIVES NOTHING AWAY — THE SIGNS SHOW UP AROUND IT
01 · WHAT TO NOTICE
Six signs worth taking seriously
None of these proves a leak on its own. Two or more together, especially near a shower wall, are a good reason to have it looked at.
SIGN 01
A musty smell that ventilation doesn't clear
A damp odour that lingers after the room has dried often points to water held in the bed beneath the tiles or inside the wall cavity.
SIGN 02
Skirtings that stain, swell or lift
Timber skirtings and floor coverings in the room beside the shower absorb moisture that has travelled sideways under the wall.
SIGN 03
Door frames that darken or start to stick
Architraves at the bathroom doorway can swell from the base up when the floor near the entry stays wet.
SIGN 04
Bubbling paint on the other side of the wall
Blistering, flaking or a white powdery bloom on a wall backing onto the shower suggests water is moving through the substrate.
SIGN 05
Stains on the ceiling below
With an upstairs bathroom, a ceiling mark is hard to ignore. It can come from the shower or from pipework, which is exactly why the cause needs tracing before anything is fixed.
SIGN 06
Grout that stays dark hours after a shower
Joints near the floor waste or along the base of the walls that never dry out, or cracked silicone in the corners, show where water is getting past the surface.
02 · JOINT / MEMBRANE
A surface fault or a waterproofing failure?
The signs look the same from outside. What sits behind them decides whether a repair is small or structural.
When the surface has failed
Grout has cracked or become porous, or silicone at the wall–floor junction and around the screen has split. Water tracks behind the tiles, but the membrane underneath is still intact and doing its job.
When the membrane has failed
The membrane is torn, missing, not turned up the walls, not bonded into the floor waste, or was tiled before it cured. Water that passes the tile reaches the substrate, and no amount of new grout will stop it.
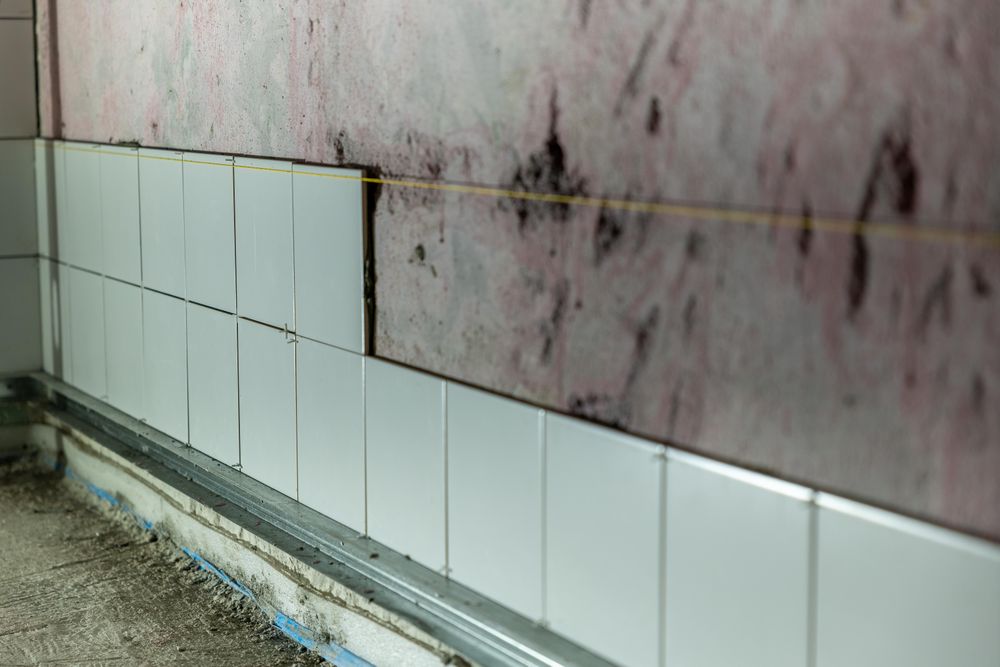
REFERENCE PHOTOGRAPH · THE LAYERS A LEAK TRAVELS THROUGH
03 · TRACING
How the cause is traced before anything is fixed
02 Grout and silicone. Every joint, corner and screen seal is checked for cracks, gaps and softness.
03 Isolating the source. Wetting the floor and walls separately helps show whether water enters at the base, the walls, the screen or the fixtures.
04 Moisture on adjoining surfaces. Readings beside and below the shower can show how far water has spread.
If the evidence points to tap bodies or pipe joints rather than the tiled surface, that part is work for a licensed plumber.
04 · OUTCOMES
What each outcome typically involves
Listed from the smallest repair to the largest. Which one applies depends on what the tracing finds, not on how bad the signs look.
OUTCOME 01 · SURFACE
Reseal and regrout
Failed grout is raked out, joints refilled, and silicone replaced at corners and junctions. Suited to a sound membrane with a tired surface.
OUTCOME 02 · MEMBRANE, IN PART
Localised rework
Where the fault is confined, such as around the floor waste or hob, a section of tiles may be lifted, the membrane repaired and the area retiled. Whether this is sensible depends on what is found underneath.
OUTCOME 03 · SUBSTRATE UP
Strip and rebuild
When the membrane has failed broadly, the shower is stripped to the substrate, falls are corrected, new waterproofing is applied and cured, then the shower is retiled.
05 · RELATED READING
Where to go from here
Bathroom waterproofing: the layer you never see
Leaking Shower Repairs in Malvern
Waterproofing in Malvern