04 · KITCHEN SPLASHBACKS · MALVERN
Kitchen splashbacks set out to the bench, not to the wall
A splashback is a small area read at close range, every day, under task lighting. The joints line up with the window reveal, the rangehood and the run of cupboards because the set-out was drawn before the first tile was cut.
Tiled splashbacks for kitchens in Malvern, Malvern East, Armadale, Toorak, Glen Iris and Prahran — residential and small commercial.
SCOPE
Full runs, benchtop to the underside of the overhead cupboards
Window reveals, returns and end walls
Cut-outs for power points, switches and tap bodies
Edge trims or mitred returns
Silicone at the benchtop junction
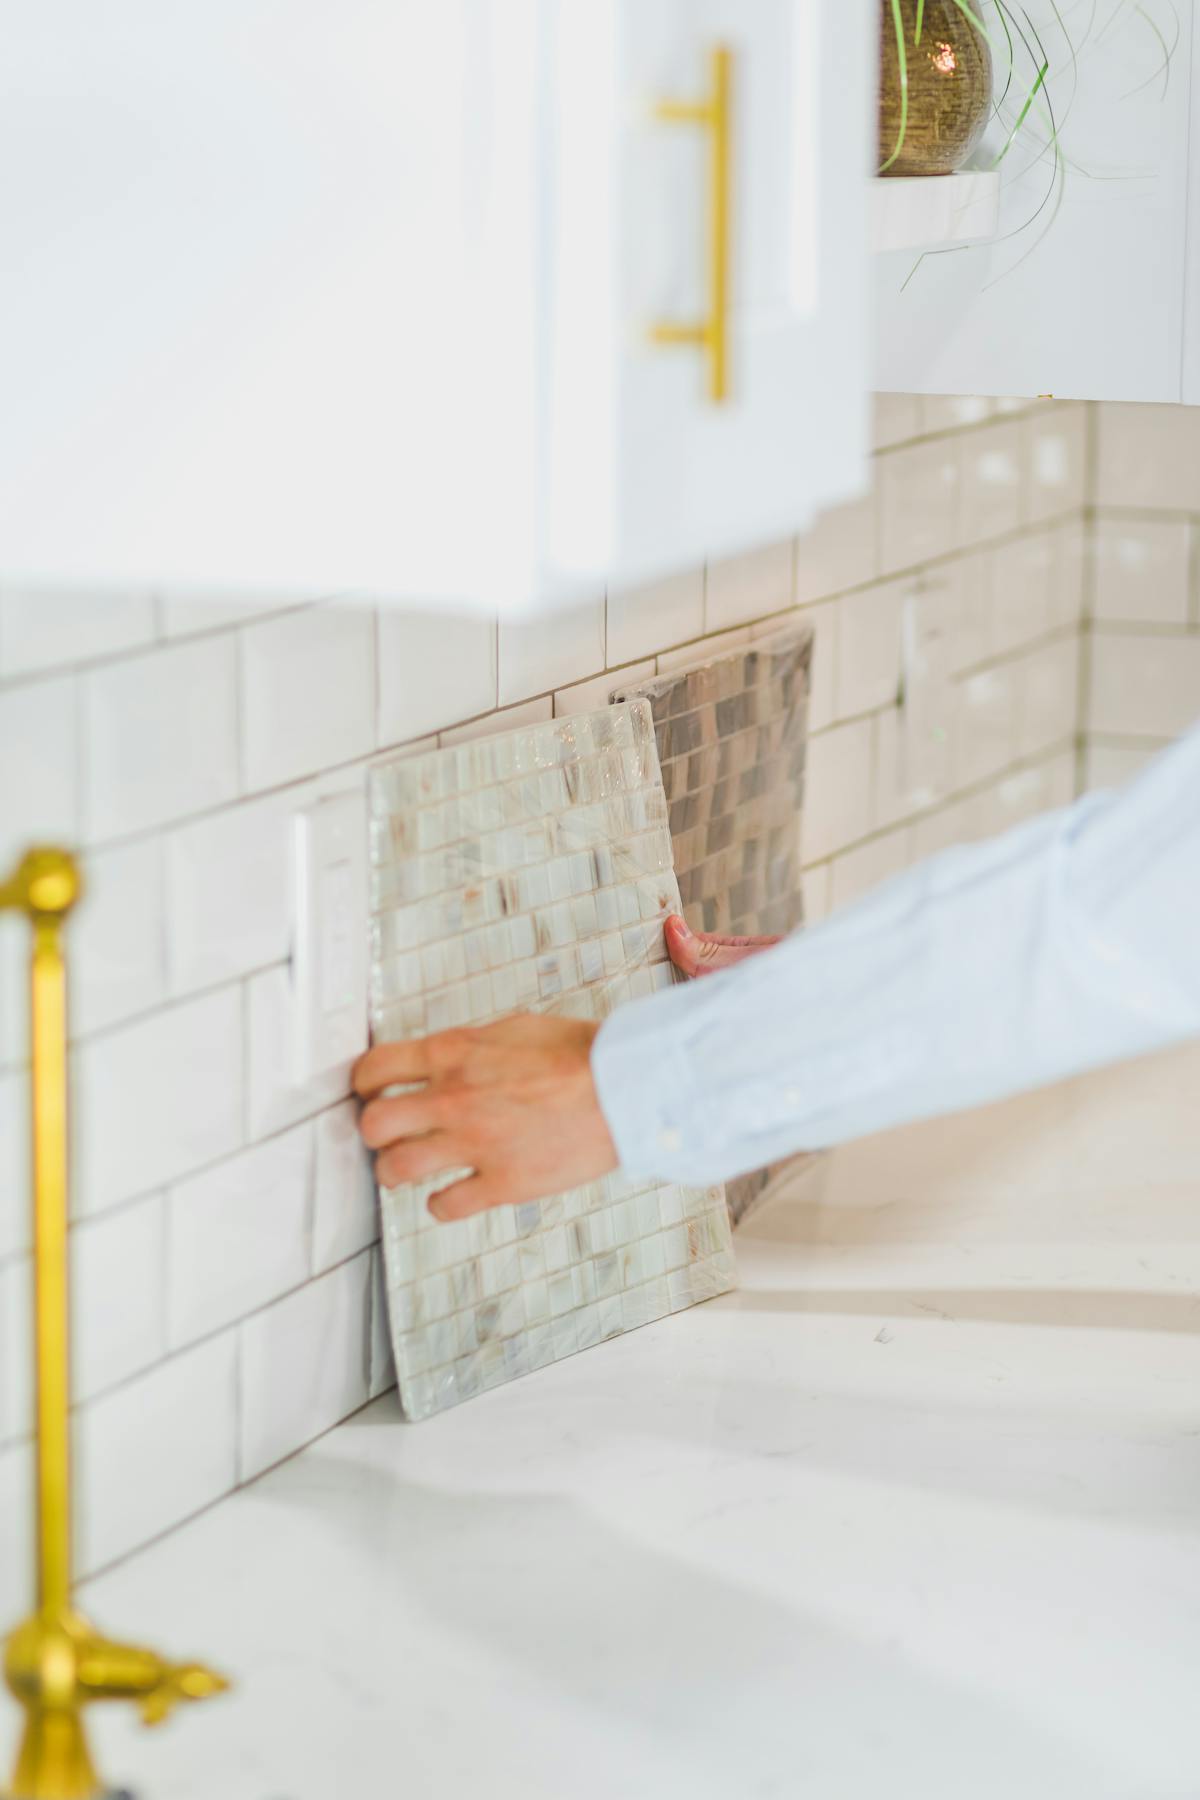
Reference photograph: a mosaic sheet being positioned on a wall. Sheets are trimmed and nudged so the small joints keep running straight across a corner rather than stepping at the seam.
SET-OUT · BEFORE THE FIRST CUT
Benchtops are level, walls rarely are, and the underside of an overhead cupboard is an unforgiving straight line to finish against.
The awkward cuts go where nobody looks
Every splashback has one row that has to absorb the difference between a level bench and a wall that wanders. The set-out decides where that row sits — usually tucked under the overheads or behind the kettle, never at eye height above the cooktop.
Full tiles are kept at the window reveal and centred on the rangehood where the two can be reconciled. When they can’t, the compromise is chosen deliberately and explained before tiling starts.
0 mm · SURFACE
Four details take most of the time on a splashback. They are also the four a close-range wall is judged on.
Where the hours actually go
CUT-OUTS
Power points, switches and tap bodies
Outlets are marked from the finished tile face and cut with a hole saw or grinder so the plate covers the opening with margin to spare. Where a point lands on a joint, the set-out is shifted rather than the tile being patched.
EDGES
Trim or mitred return
An external edge at a window reveal or the end of a run can take a slim aluminium or brushed trim, or a mitred return where two tiles meet at the corner with no metal showing. Mitres suit thicker porcelain and a plainer look; trims suit thin wall tiles and busier patterns.
JUNCTIONS
Silicone where the bench meets the wall
Benchtops move with load and temperature. That junction is finished in colour-matched silicone, not grout, so it flexes instead of cracking — the same rule applied at internal corners and around the cooktop.
GROUT
Colour chosen for cleaning as much as looks
FORMAT
Choosing a format
Four formats cover most splashbacks. Each one moves the labour to a different place — the seams, the cuts or the flatness of the wall.
Subway
Forgiving, familiar and quick to lay. Stack-bonded reads calmer than a half-brick offset; the grout colour does most of the talking.
Mosaic
Supplied on mesh sheets. The work is in the seams between sheets and in trimming sheets to land cleanly at corners and cut-outs.
Slab-look
Veined porcelain run as one or two pieces behind the cooktop. Vein direction and the join position are decided from the actual slab before cutting.
Large format
SUBSTRATE
What happens before anything is stuck to the wall
An old glass or acrylic splashback comes off with the adhesive behind it, and plasterboard usually comes away in patches with it. Those areas are patched flat, sanded and checked with a straightedge, because a hollow or a hump that reads as nothing on a painted wall becomes a shadow line across a run of tiles.
Power is isolated before outlets are cut around, and the finished tile thickness is confirmed against the plates and tap flanges so nothing sits proud.
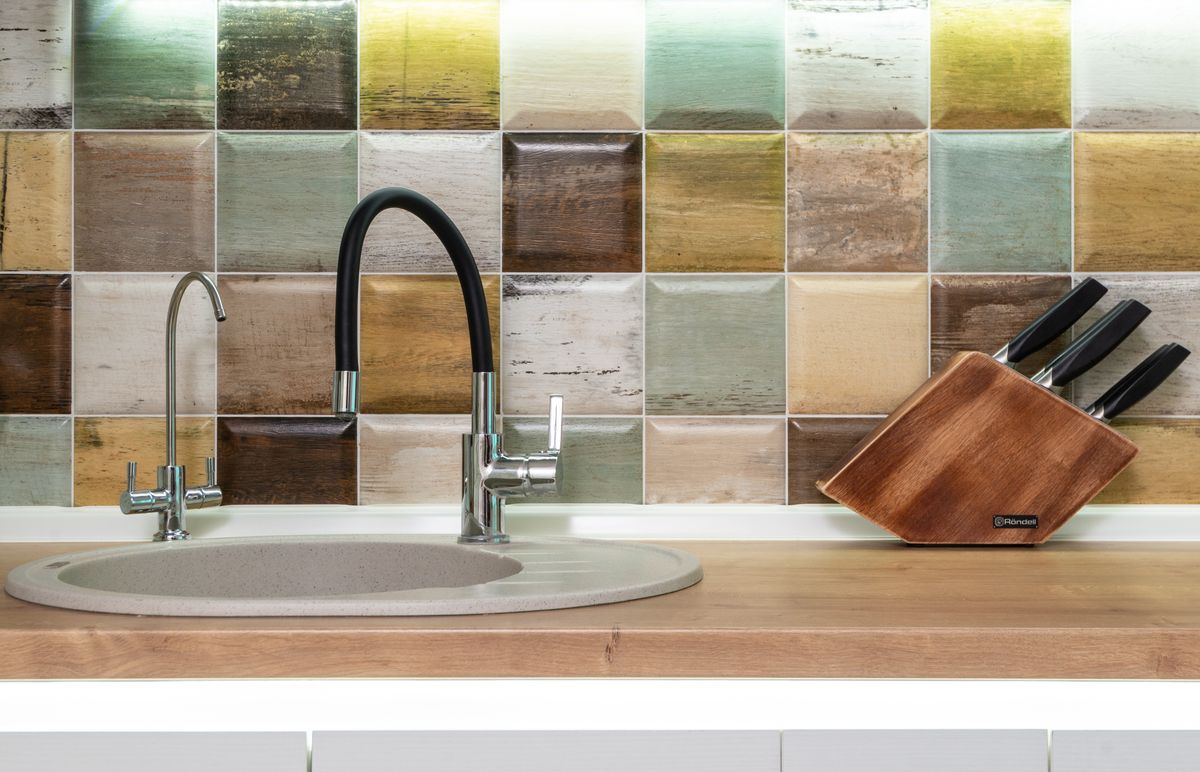
Reference photograph: a varied rectangular tile run behind a sink. Busier tiles hide small movement in a wall; plain ones show every millimetre of it.
QUESTIONS
Three that come up on nearly every kitchen.
Questions about tiled splashbacks
Can you tile behind a gas cooktop?
Yes, provided the tile and adhesive suit the clearance the appliance manufacturer specifies behind and beside the burners. Porcelain and ceramic handle the heat; the detail to get right is the clearance and the junction at the benchtop. Freestanding cookers and some rangehoods set their own minimums, so the appliance details are worth having before the tile is chosen.
Are mosaic sheets faster than individual tiles?
To place, yes. To finish, not really. Sheet seams have to be opened out or closed up so the joint rhythm doesn’t jump, mesh sometimes needs trimming at edges, and there is far more grout surface to clean off and sponge back. Budget for the finishing rather than the laying.
What's involved in removing an old splashback?
NEXT