06 · LARGE FORMAT TILING · MALVERN
Large panels need a flatter bed than anything else you tile
Oversized porcelain, stone-look formats and slabs on floors and walls across Malvern, Malvern East, Armadale, Toorak and Glen Iris. Fewer joints to look at, and far less room for the substrate to hide.
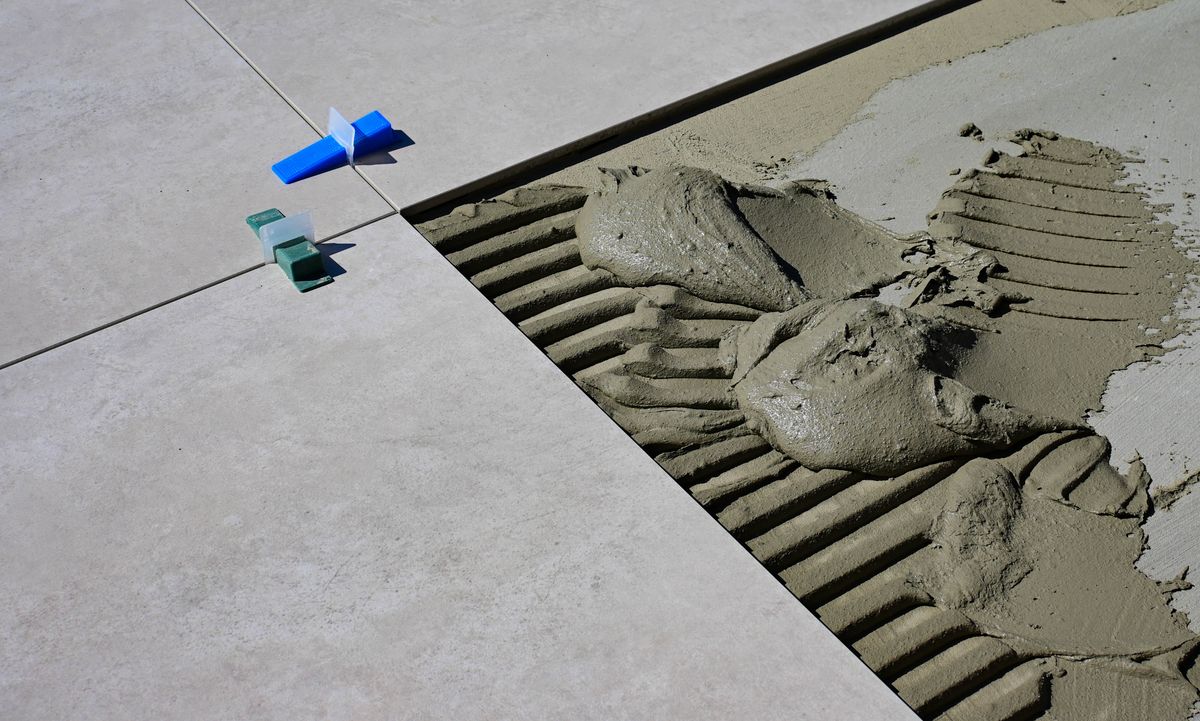
Reference photograph: large panels bedded into combed adhesive, with levelling clips holding neighbouring edges in the same plane while the adhesive sets.
SUBSTRATE
Straightedge in both directions and on the diagonal, before anything is ordered.
Fewer grout lines, less room to hide
Large format is chosen for calm: a floor or a wall broken by two or three joints instead of thirty. The trade-off is tolerance. A mosaic follows a wavy screed and nobody notices. A panel a metre or more across cannot follow anything — it bridges the high points, rocks over the hollows, and every deviation in the bed turns up at the joint as lippage, a raised edge you feel underfoot and see the moment daylight runs across the floor.
SUBSTRATE · BED
Preparation, in order
Four stages. At this size none of them can be shortened, and the set-out is settled dry before a bag of adhesive is opened.
01
Read and correct
The substrate is checked with a long straightedge in both directions and diagonally. Highs ground back, hollows filled or levelled, the plane checked again, then primed.
02
Set out and dry-lay
Panels are laid dry against the room’s reference lines so joints fall sensibly at doorways, islands and shadow lines, and no sliver cut lands where the eye stops.
03
Comb, butter, bed
A large-notch trowel combed in one direction, the back of the panel skimmed solid, then beaten in until the ribs collapse. Full contact under a big panel is not optional — voids become cracks.
04
Clip, cut, finish
Levelling clips hold adjacent edges in plane while the adhesive sets. Cuts and penetrations are made wet, panels supported, internal corners relieved so nothing is left under stress.
WHY THE HOURS DIFFER
Where the extra labour actually goes
Most of the difference between a large format job and a standard one sits in hours rather than materials. Bringing a floor to the flatness the panel demands can take longer than the tiling. Panels over a certain size are a two-person lift, so each one is carried, placed, adjusted and clipped by two sets of hands. Cutting is slower — wet blades, supported panels, relieved corners — and a mistake is a whole sheet rather than a cheap tile. Clips and wedges are used once and snapped off.
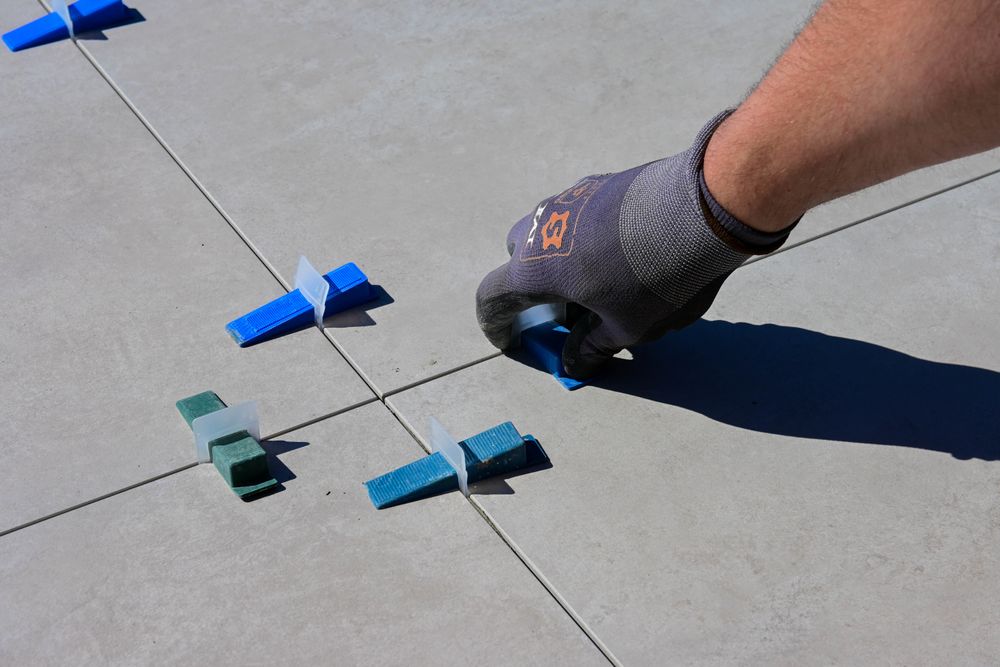
Clips set at every joint, worked along the panel edge before the adhesive begins to grab.
QUESTIONS ABOUT BIG PANELS
Questions about large format tiling
How flat does the substrate have to be?
Flatter than a small tile needs, and the tolerance tightens as the format grows. The practical test is a long straightedge laid in every direction with no gap you can feel beneath it. Where an existing floor cannot meet that, we level or screed first rather than trying to make the difference up in adhesive.
Can panels be cut around wastes, taps and power points?
Yes — wet cutting, hole saws and internal corners drilled and relieved rather than left sharp. A square cut-out with tight corners concentrates stress and is the usual reason a panel cracks months later. Penetrations are marked from the fixture as installed, not from the plan.
Are large panels too heavy for a wall?
How wide should the grout joints be?
Wider than most people expect. Long panel edges carry a slight curvature, and a joint in the order of three millimetres gives the installation somewhere to absorb it; anything tighter puts every small variation on display. Perimeter and intermediate movement joints still go in regardless of how narrow the grout line looks.
NEXT
Send us the room and the format
Panel size, the area and what is under it now is usually enough to start.
RELATED SERVICES AND READING
Kitchen Splashbacks — slab and large-panel splashbacks, cut-outs and mitred returns.
Bathroom Renovation Tiling — large panels over a fresh membrane, in the right sequence.
Large Format Tiles: Fewer Joints, Higher Demands
Preparation Decides the Finish
Porcelain vs Ceramic: Choosing Per Room