GUIDE · 6 MM · THE BED UNDER A BIG PANEL
Large format tiles: fewer joints, far higher demands underneath
A floor or wall laid in big porcelain panels reads as one calm surface, broken by only a few fine lines. That calm is earned below the tile. The bigger the panel, the less it forgives a hump in the slab, a hollow in the adhesive or a joint planned in the wrong place.
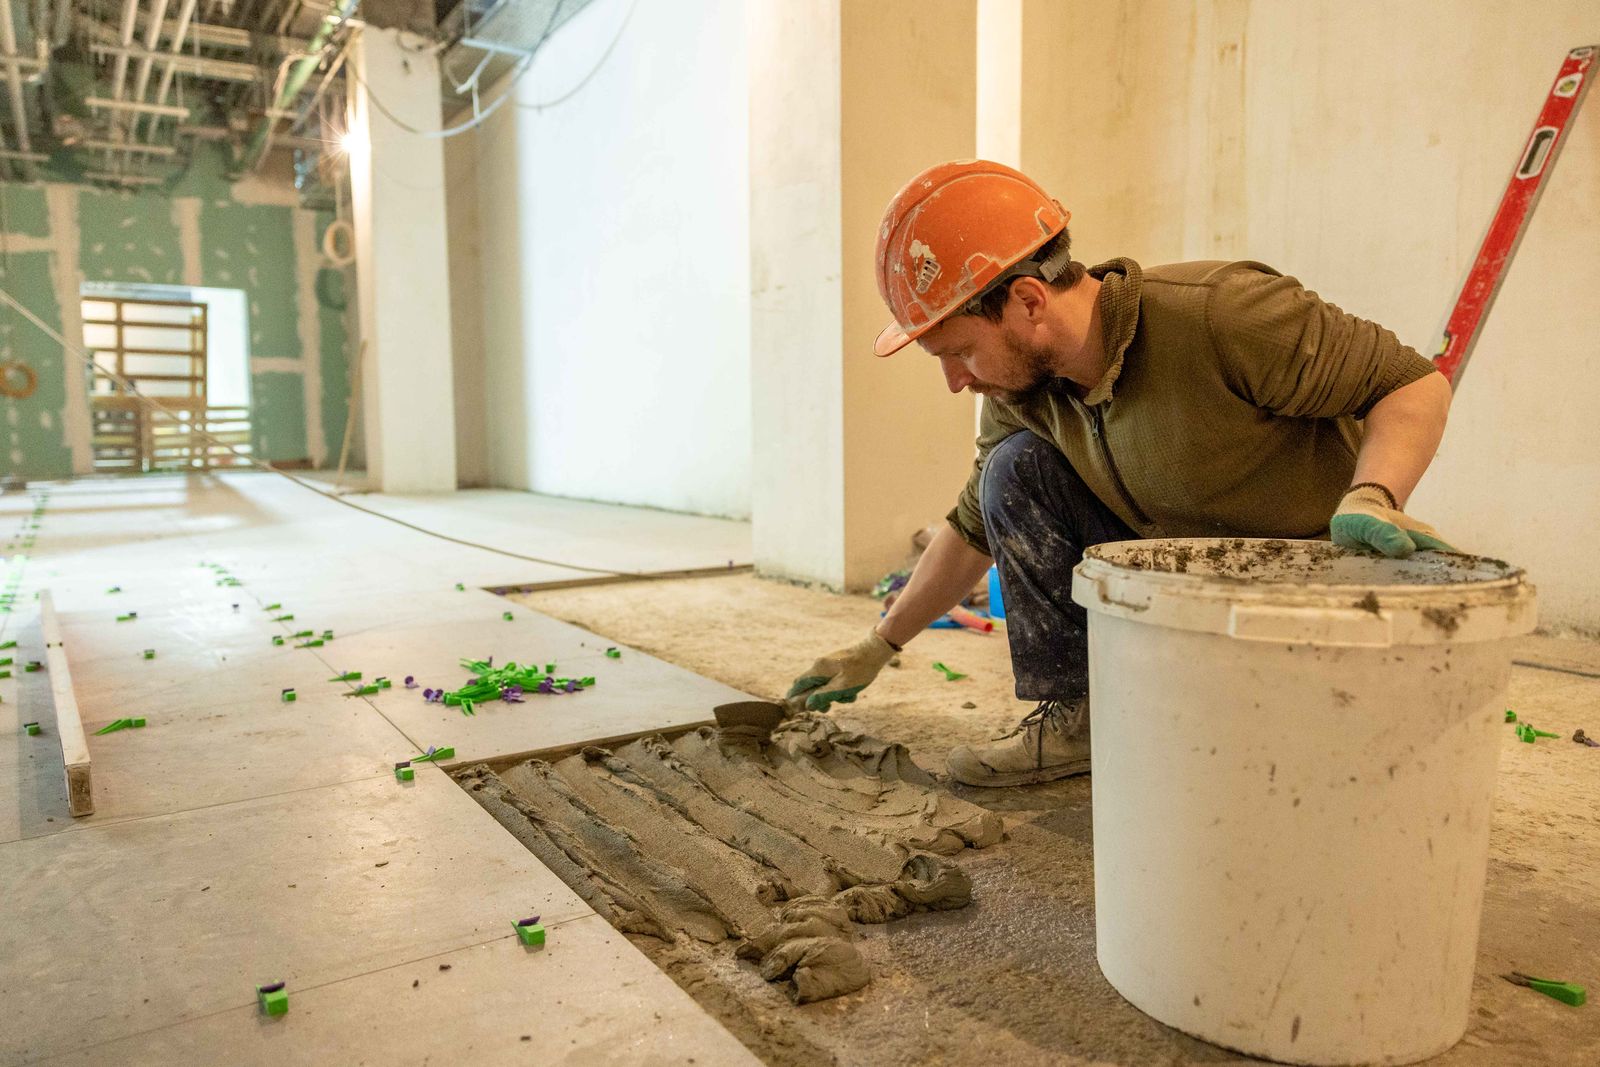
REFERENCE PHOTOGRAPH · BEDDING LARGE FLOOR PANELS INTO MORTAR, ONE PANEL AT A TIME
01 · SUBSTRATE
Flatness is checked and corrected before any adhesive is mixed.
02 · BED
Full coverage, with adhesive on the substrate and the back of the panel.
03 · SURFACE
Levelling clips hold neighbouring edges in one plane while the bed cures.
04 · PLAN
Joints and cuts are set out before the first panel goes down.
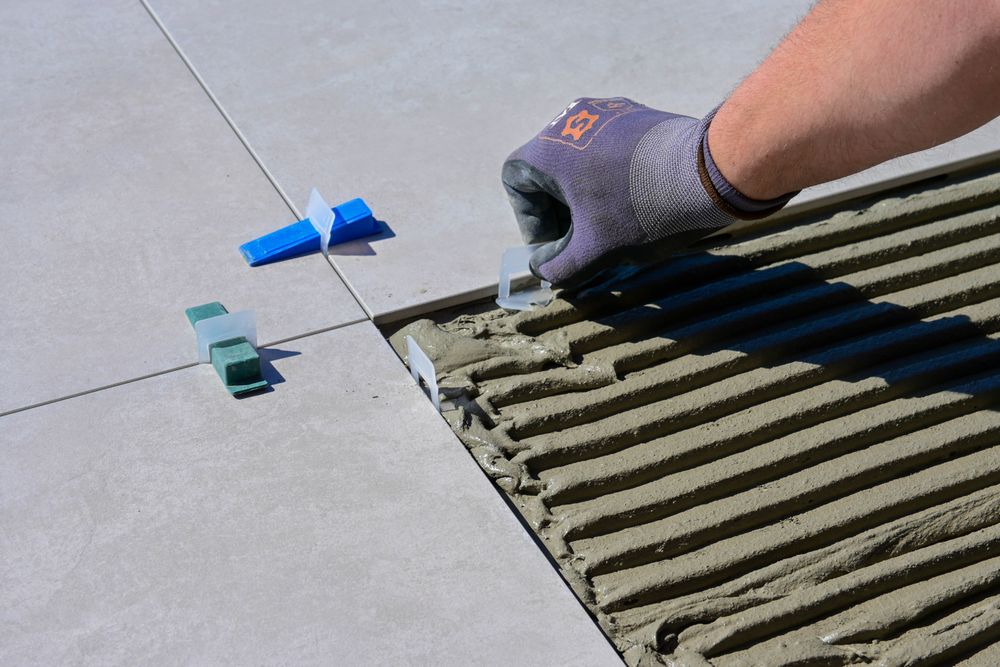
REFERENCE PHOTOGRAPH · SPACER SET INTO COMBED ADHESIVE
SUBSTRATE · BELOW THE BED
Why a big panel shows every fault in the floor
A small tile follows the floor. It can sit a fraction higher or lower than its neighbour and the grout line hides the difference. A large panel spans the high and low points instead, so it rocks on a hump, bridges a dip and leaves the edge of the next tile standing proud. That step between edges is called lippage, and in low side light from a window it is hard to miss.
Technical note: the acceptable deviation gets tighter as the tile gets longer. A floor that suits a 300 mm tile may still need work before it can take a 1200 mm panel.
INSTALL · STAGE BY STAGE
Read down the list as the work goes up from the bed.
What changes once the panels arrive on site
ADHESIVE BED
Full coverage and back-buttering
Adhesive is combed onto the substrate and a thin skim goes on the back of the panel, so the two layers merge without voids. A hollow under a big tile turns into a crack under point loads, or a drummy sound when tapped.
TILE · SURFACE
Levelling clip systems
Clips slide under neighbouring edges, and wedges or caps pull those edges into one plane while the adhesive is still workable. They control lippage between panels. They can’t fix a floor that was never flat.
HANDLING + CUTS
Moving and cutting large panels
Long panels flex when carried flat, so they’re moved on edge, often by two people or with suction lifters. Straight cuts need a rail cutter or wet saw that covers the full length, and notches around pipes and outlets take far longer than on small tiles.
GROUT + SET-OUT
Joint width and layout planning
Joints stay narrow but even, and movement joints still go in at perimeters and wherever the substrate calls for them. Set-out starts from the room’s main sightline, so thin slivers land at hidden edges instead of doorways.
TIME + COST
What it does to installation time and cost
PLAN · BEFORE PURCHASE
Where big formats suit a room, and where they waste
Panel size should follow the room’s shape and its obstacles, not only the look on a showroom board.
Tends to suit
Splashbacks with a clear run between bench and cabinets, where one panel removes grout lines behind the cooktop. See Kitchen Splashbacks.
Feature and shower walls with few penetrations, set out so joints land on corners and niches.
Tends to waste
Shower floors with falls in several directions. A rigid panel can’t bend to follow them, so smaller tiles or deliberate cut lines usually work better.
Rooms full of angles, bay windows or boxed-in pipes, where every notch risks cracking an expensive panel.
RELATED READING
Going further
SERVICE 05 Floor Tiling: levelling, movement joints and lippage control
SERVICE 04 Kitchen Splashbacks: slab-look panels, cut-outs and edge trims
GUIDE Preparation Decides the Finish: substrate checks, screeding and set-out