GUIDE · SLAB TO SURFACE · EVERY LAYER
Preparation decides the finish: every tile rests on work you never see
People judge a tiled floor or wall by its surface: is it flat, are the joints even, does it sound solid underfoot? None of that is decided at the surface. It’s decided earlier, by the state of the slab or sheet, how flat the bed is, the primer, the set-out and the joints left free to move. This guide starts at the substrate and works up, one layer at a time, in the order a job is actually built.
Written for homes and small commercial spaces in Malvern, Malvern East, Glen Iris, Armadale and the suburbs around them.
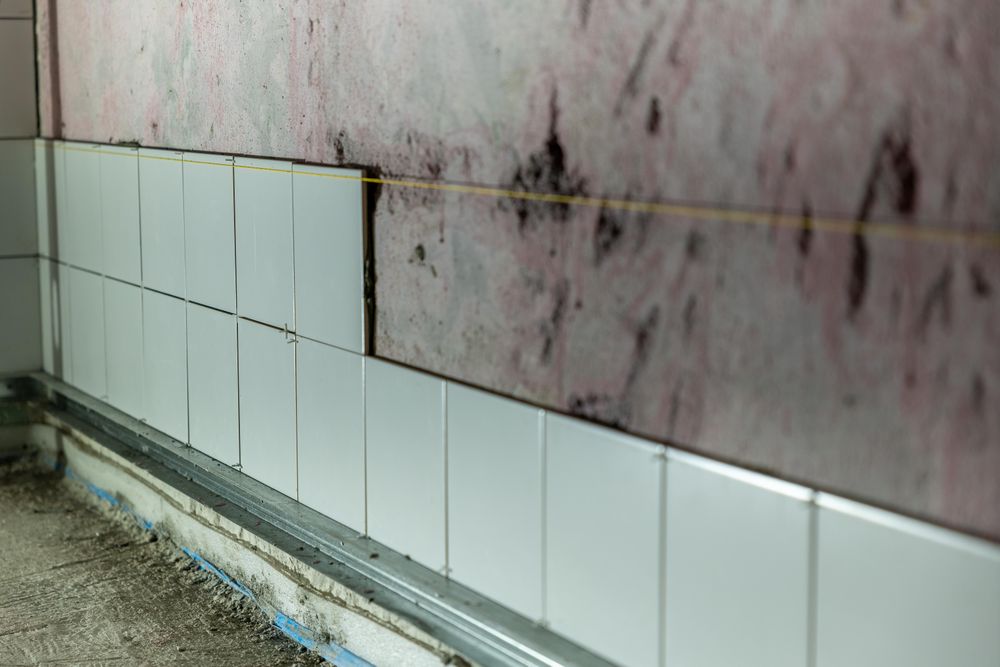
WHAT THE EIGHT-POINT CHECK LOOKS AT: BARE SUBSTRATE ABOVE THE LAID COURSES
BEFORE THE FIRST TILE
A practical pre-tiling check
02 Cracks, loose sheeting and springy floor areas are repaired, not tiled over.
03 Flatness is checked with a straightedge across the whole area, not just the middle.
04 Falls to the floor waste are formed in the screed, not built up in adhesive.
05 The primer suits both the surface and the adhesive going over it.
06 The set-out is marked and dry-laid so cuts land evenly at edges and doorways.
07 Movement and perimeter joints are marked out before fixing starts.
08 In wet areas, the waterproofing membrane has fully cured.
SLAB → BED
Six layers, worked from the bottom up
Each layer depends on the one below it. Skipping a step doesn’t save time. It just moves the problem up to the surface, where it’s harder to fix.
SUBSTRATE
Assessment and moisture
Concrete, screed, fibre-cement sheet and old tiles each need different treatment. A slab that still holds moisture can push water vapour and salts into the bed, and that weakens the bond long after the tiles look finished.
REPAIRS
Cracks and deflection
LEVELLING
Compounds and screeds
PRIMER + MEMBRANE
Priming for the surface and the adhesive
SET-OUT
Dry-lay before fixing
Tiles are laid out loose first. This finds the centre lines, balances the cuts at walls and doorways, and lines the joints up with niches, benches and wastes. Moving a line on bare floor takes minutes. Once the adhesive is down, moving it costs tiles.
JOINTS
Movement and perimeter joints
Tiles, slabs and walls all expand and contract at different rates. Soft joints at the edges, at changes of plane and across larger floors let that movement happen without cracking or lifting the tiles.
TIME · BETWEEN LAYERS
Cure times that can't be rushed
Every material in the build-up has a curing or drying time set by its manufacturer. That goes for the screed, levelling compound, primer, membrane, adhesive and grout. The time also shifts with temperature and humidity. Tiling over a membrane that’s still soft, or grouting before the bed has set, traps moisture and weakens the bond.
These waits are part of the schedule, not a delay to it. In a wet area they can take up more days on the calendar than the tiling does.
Cold Melbourne winters make cure times longer. The product data sheet decides when the next layer goes on, not the calendar.
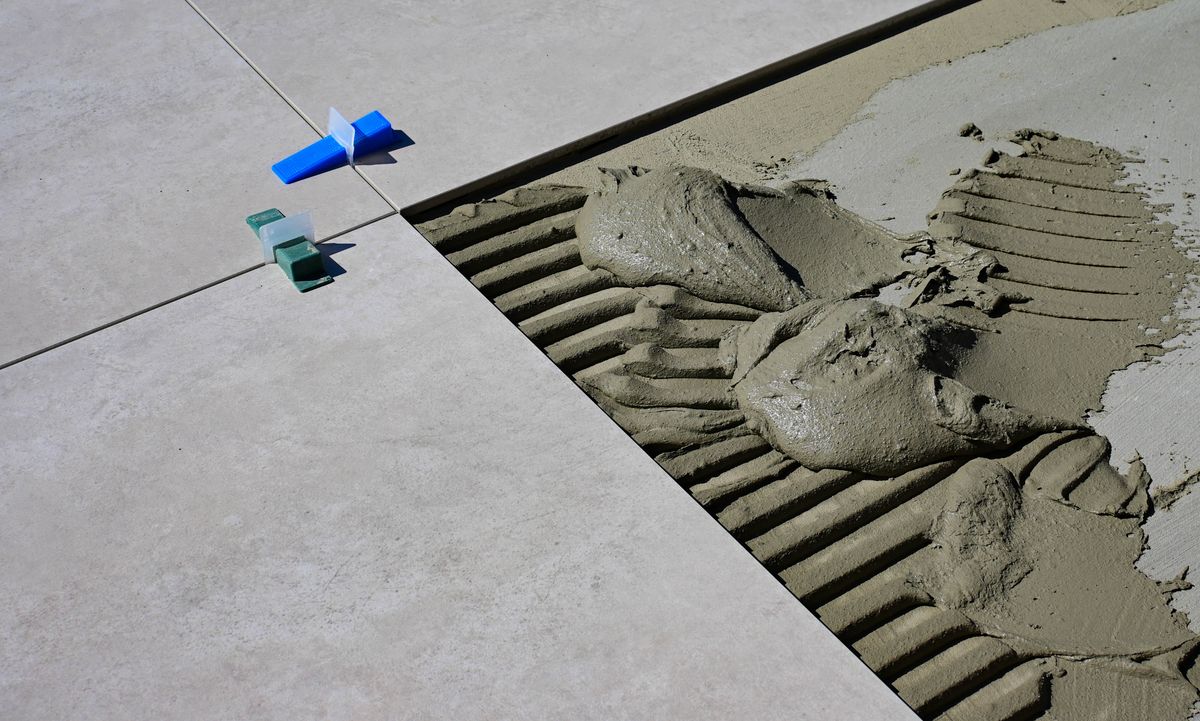
REFERENCE PHOTOGRAPH · LARGE-FORMAT TILES FRESHLY SET INTO ADHESIVE — THE BED MUST CURE BEFORE GROUTING
0 MM · SURFACE
Where it shows in the finished job
Floors and big panels
Bathrooms and showers
SUBSTRATE · YOUR JOB
Planning a floor, bathroom or outdoor area in Malvern or a nearby suburb? Start by telling us what surface you have now: bare slab, timber, sheeting or old tiles. That tells us what preparation the job needs.