GUIDE · 0 MM · THE KITCHEN WALL
Kitchen splashbacks: layout, grout and the details you live with
Your splashback is the wall you look at every day, and it’s also the one that gets hit with steam, oil and water. Picking a tile is only the start. The pattern has to sit well against the rangehood, the window and the cabinet lines. The grout has to cope with whatever comes off the cooktop. And the ends of the run and every power point need planning before a single box is ordered.
Written for kitchens in Malvern, Armadale, Toorak, Glen Iris and the suburbs around them.
SCOPE OF THIS GUIDE
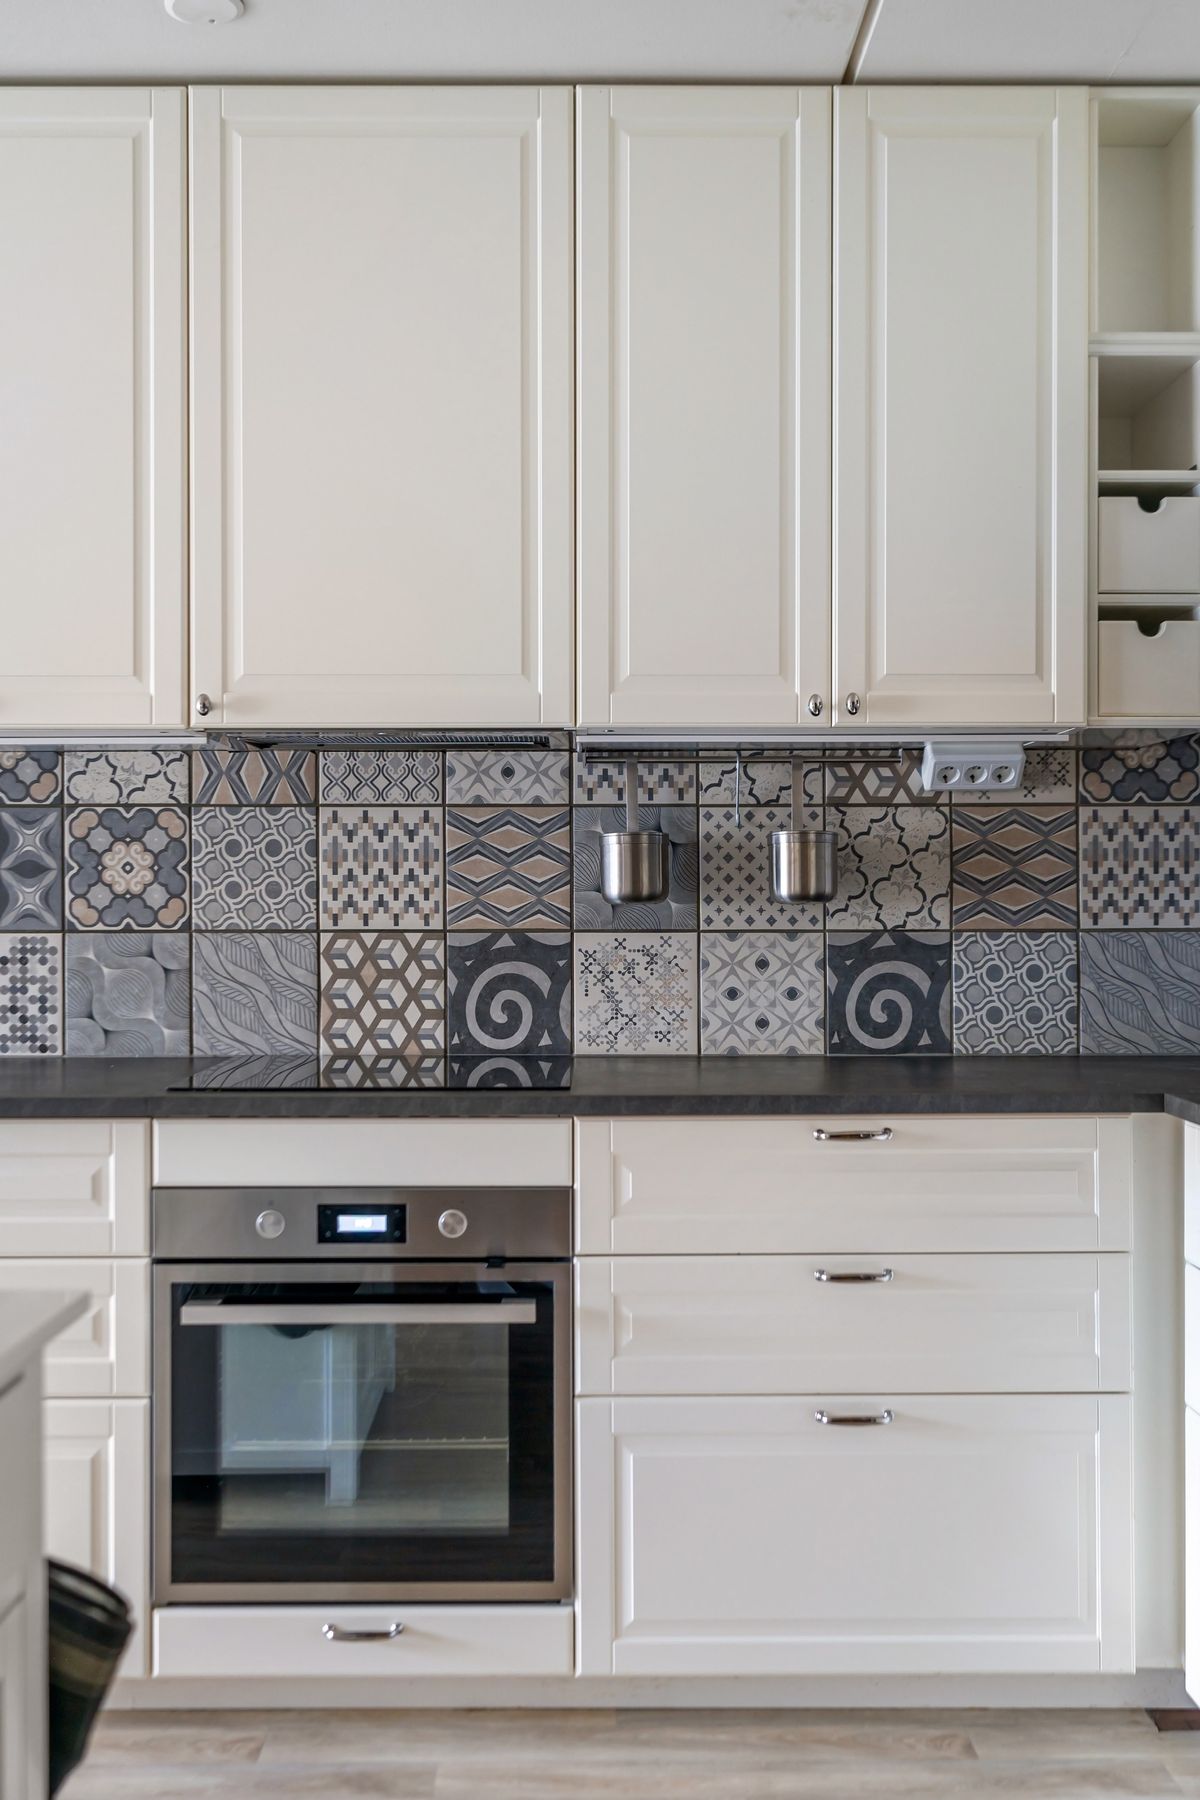
REFERENCE PHOTOGRAPH · PATTERNED SPLASHBACK FRAMED BY CABINET LINES
0 MM · SURFACE
Five layouts, and what each one asks of the wall
Some patterns hide small flaws in a wall. Others show every one. Choose with your actual kitchen in mind, not the showroom board.
Subway, running bond
Offsetting each row by half a tile hides slight variations along a run. The horizontal joints do the opposite: they show up any slope in the benchtop. That’s why the first course is set from a level line, not from the bench.
Stack bond
The joints line up in a straight grid, horizontal or vertical. It looks calm and modern, but a crooked joint has nowhere to hide, so the wall needs to be straight and the set-out precise.
Herringbone
Herringbone has the most cuts, takes the most time and wastes the most tile. Its centre line needs a fixed reference, usually the middle of the cooktop or rangehood, so the pattern reads as deliberate from end to end.
Mosaic
Mosaic comes on sheets that bend around tight spots and fit neatly around small cut-outs. The trade-off is joints everywhere, so on a mosaic the grout colour matters almost as much as the tile.
Slab-look and large format
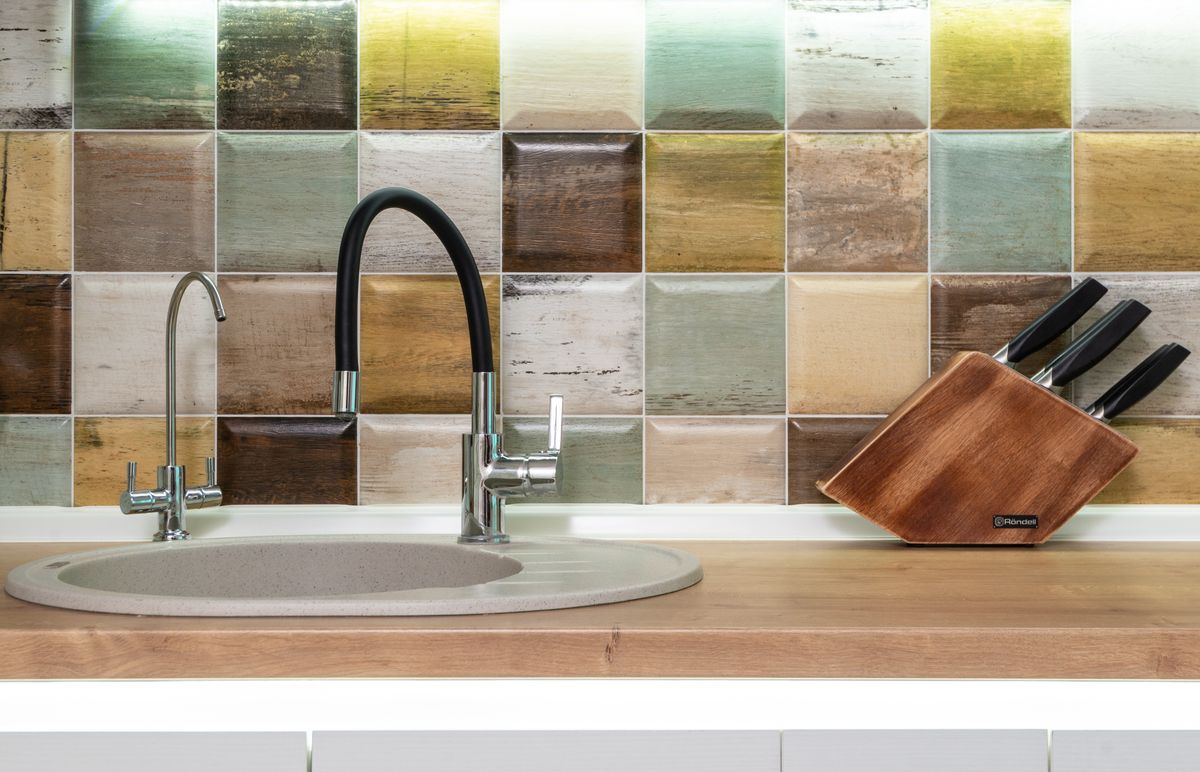
REFERENCE PHOTOGRAPH · RECTANGULAR TILES MEETING A BENCHTOP
SET-OUT
Lining the pattern up with the rangehood, window and cabinets
Nobody sees a splashback on its own. The eye reads it against the fixed lines around it: the rangehood’s centre, the edges of the window, the underside of the wall cabinets and the benchtop. Good set-out starts from whichever of those is most visible. Usually that means centring the pattern on the rangehood so the cuts on either side match.
From there, the start point is moved so thin sliver cuts end up where cabinets hide them, not along a window reveal. Benchtops are rarely perfectly level, so the joint where tile meets bench is finished with flexible silicone, never grout.
JOINT + EDGE
Grout colour behind a cooktop
Oil and cooking splatter settle into joints. Bright white grout shows the staining first. A mid-tone grout close to the tile colour hides everyday marks better, and a contrasting grout makes the pattern stand out along with any irregular joint.
A less absorbent grout, such as epoxy or a properly sealed cementitious grout, wipes clean more easily. Keeping joints narrow also leaves less grout for grease to sit in.
Finishing the end of a run
When a splashback stops short of a wall or runs past the end of a cabinet, the exposed edge needs a finish. Your options are a glazed edge tile, a slim metal trim profile, a mitred corner on porcelain, or ending the tiles exactly on the cabinet line.
Make this call before ordering. Trims have to be on site when the first course goes up, and fitting them afterwards rarely looks right.
BEFORE ORDERING
Plan the cut-outs first
02 Mark every outlet on the set-out, so the cut lands in the middle of a tile or on a clean joint, not leaving a thin sliver.
03 With large panels, check whether a cut-out leaves a narrow strip that could crack during handling, and allow a spare.
04 Order extra for cuts and pattern waste. Herringbone and slab-look layouts use noticeably more than a straight stack.
05 Check that outlet cover plates will sit flat on the finished tile face once the tile and adhesive thickness is added.
READING ON
Large Format Tiling — the flatness and bedding that slab-look panels depend on.
Large Format Tiles: Fewer Joints, Higher Demands
Preparation Decides the Finish